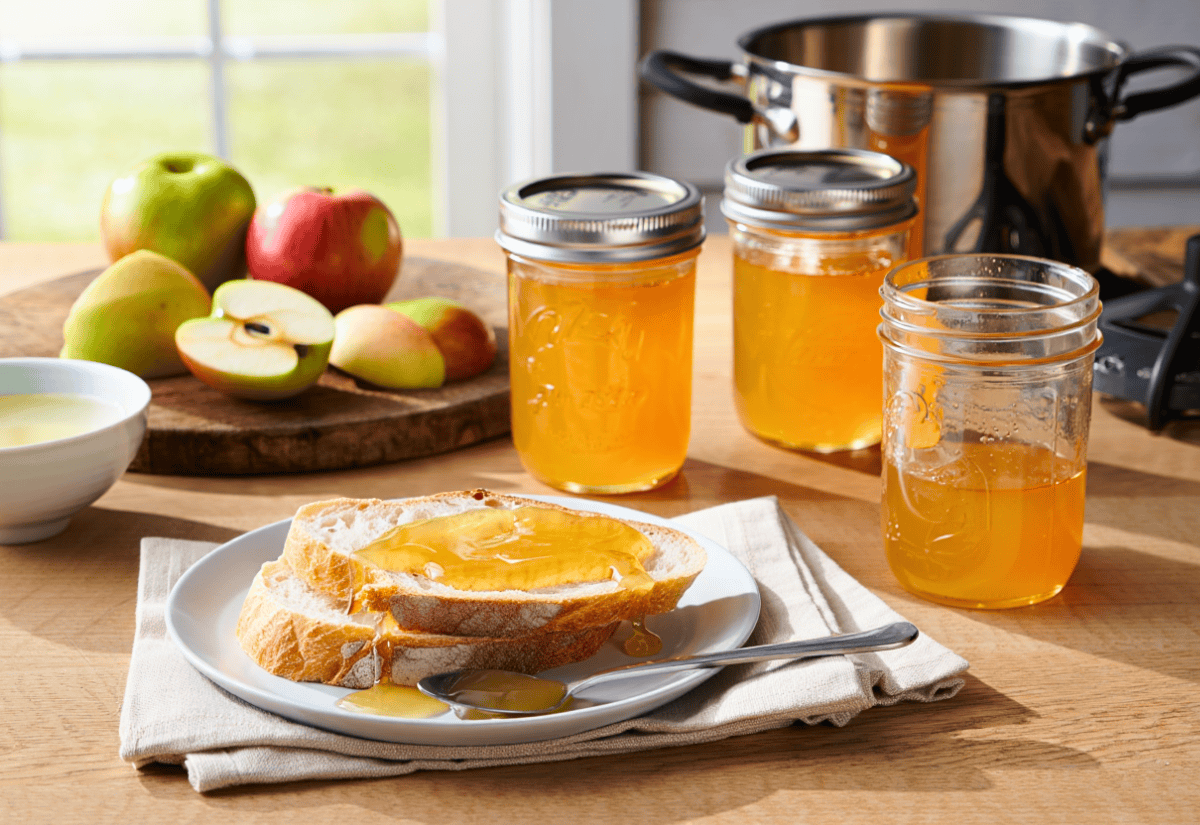
This old-fashioned apple jelly is one of the coziest ways to bottle up fall’s golden hour. With just a few basic steps, you can turn everyday apples into shimmering jars of amber jelly—sweet, slightly tart, and smooth enough to glide across toast or melt into warm biscuits. It’s the kind of pantry magic that feels both old-fashioned and quietly luxurious.
There’s something about making apple jelly that feels like a ritual. Maybe it’s the soft rustle of peels in the pot, the steam rising as the fruit simmers, or the way the kitchen fills with that warm, spiced scent—like walking through an orchard at sunset. Every year when the air crisps and the leaves start to curl, I find myself drawn back to this recipe. It’s simple, patient, and grounding in all the best ways.

The first time I made it, I didn’t expect much. It started as a way to use up windfall apples from a neighbor’s tree. But when the jelly cooled and caught the light—translucent and glowing like honey—it stopped me in my tracks. One spoonful on warm bread, and I was hooked. It was brighter than jam, smoother than sauce, and somehow more nostalgic than both.
Since then, it’s become an annual tradition. I ladle it into little glass jars, tuck some away for winter, and gift the rest to friends with a note: “Best served on quiet mornings with buttered toast.” It never lasts long.
In the steps below, I’ll walk you through exactly how I make it, from boiling the apples with their skins to sealing the jars with a satisfying pop. Whether you’re canning for the first time or the fiftieth, this recipe might just become your new fall favorite.
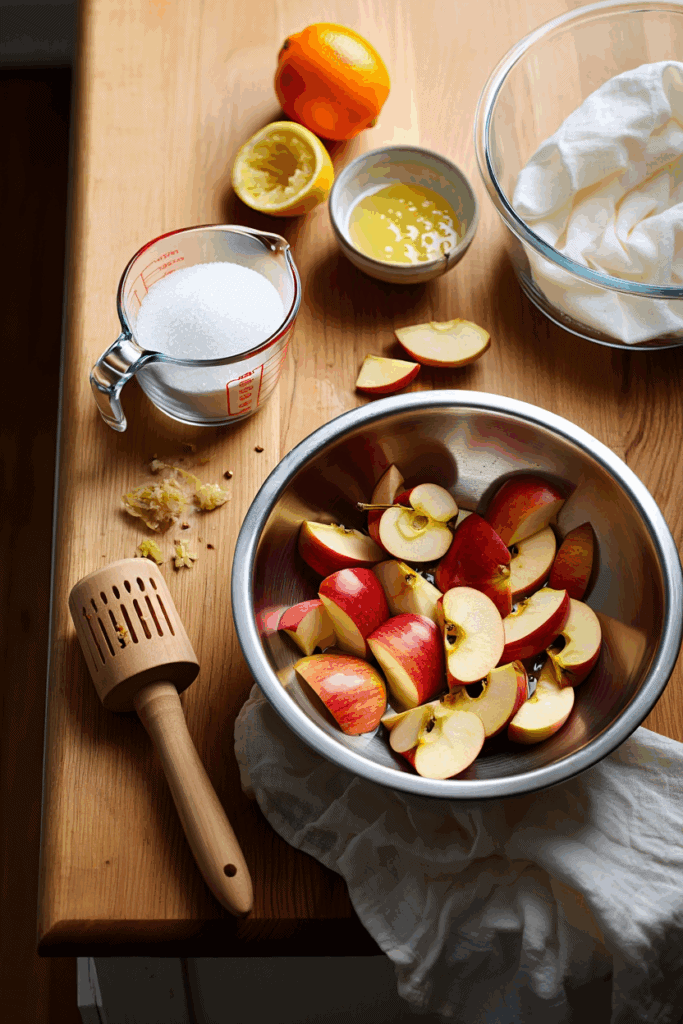
What You’ll Need
You don’t need anything fancy—just some fresh apples, a few kitchen tools, and patience while the magic happens.
Ingredients:
- 6 lbs fresh apples (a mix of tart Granny Smith and crabapples works great)
- 2 tablespoons bottled lemon juice
- 1/4 cup fresh orange juice (adds brightness and depth)
- 3 cups granulated sugar (organic preferred)
Canning Supplies:
- Fine jelly bag or several layers of damp cheesecloth for juice extraction
- Large heavy-bottomed pot
- Instant-read thermometer (for precision)
- Canning jars, new lids, and bands
- Jar lifter, canning funnel, nonmetallic spatula, headspace measurer
- Decorative labels and ribbons for presentation (optional but lovely)
How to Make Apple Jelly
Step 1: Extract the Juice


Start by washing and quartering your apples, removing the blossom ends. Place them in a large pot and add just enough water to cover the fruit. Bring to a boil over medium-high heat, then reduce the heat and simmer until the apples are soft (about 30 minutes). Use a potato masher occasionally to gently break up the fruit.

Next, transfer the cooked apples to a jelly bag or cheesecloth-lined strainer set over a large bowl. Let the juice drip naturally for several hours or overnight—resist the urge to squeeze, which can cloud your jelly.
Step 2: Cook the Jelly

Measure out 4 cups of the fresh apple juice and return it to your pot. Add bottled lemon juice and the fresh orange juice to the mixture. Stir in the sugar and heat gently over medium heat, stirring until completely dissolved.
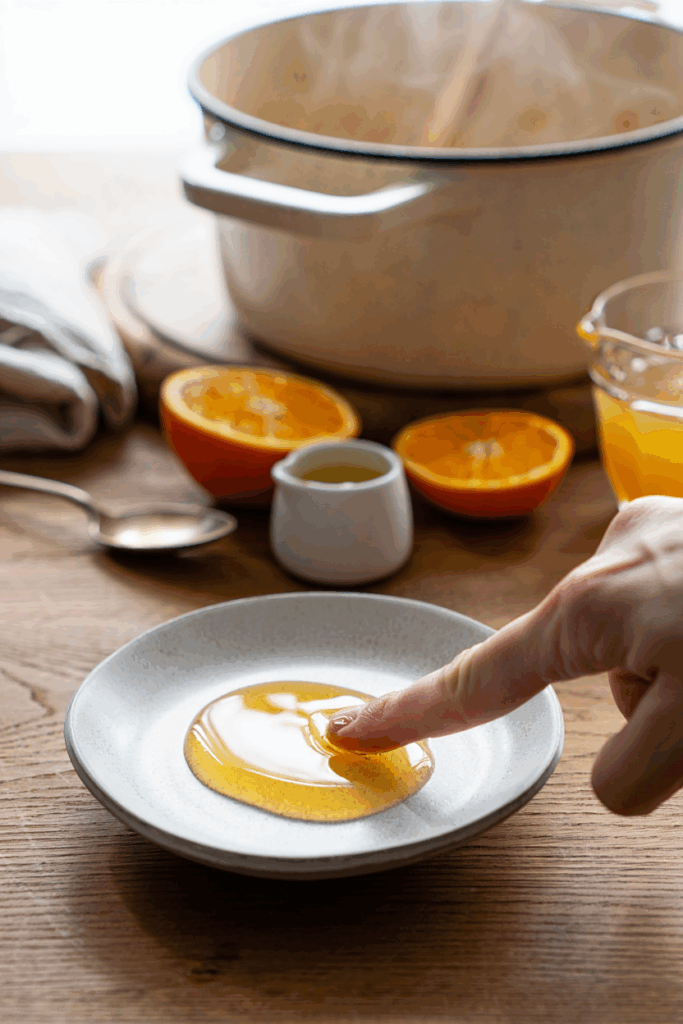
Increase the heat and bring the mixture to a rolling boil. Skim foam as needed, and test for doneness using your instant-read thermometer—you’re aiming for 220°F (104°C). If you don’t have a thermometer, try the cold plate test: spoon some hot jelly onto a chilled plate, let it cool for a minute, then push the jelly with your finger; if it wrinkles and holds, it’s ready.
Step 3: Jar and Can

While cooking, sterilize your jars and keep them warm. When the jelly reaches the gel stage, ladle it into hot jars, leaving 1/4 inch headspace. Use a spatula to pop any air bubbles, wipe the rims clean, and place on new lids and bands, tightening just fingertip firm.

Process the jars in a boiling water bath for 10 minutes, adjusting for altitude if necessary. Remove jars and let them cool undisturbed on a towel. You’ll hear the satisfying “ping” of seals forming as they cool.
Step 4: Store and Enjoy
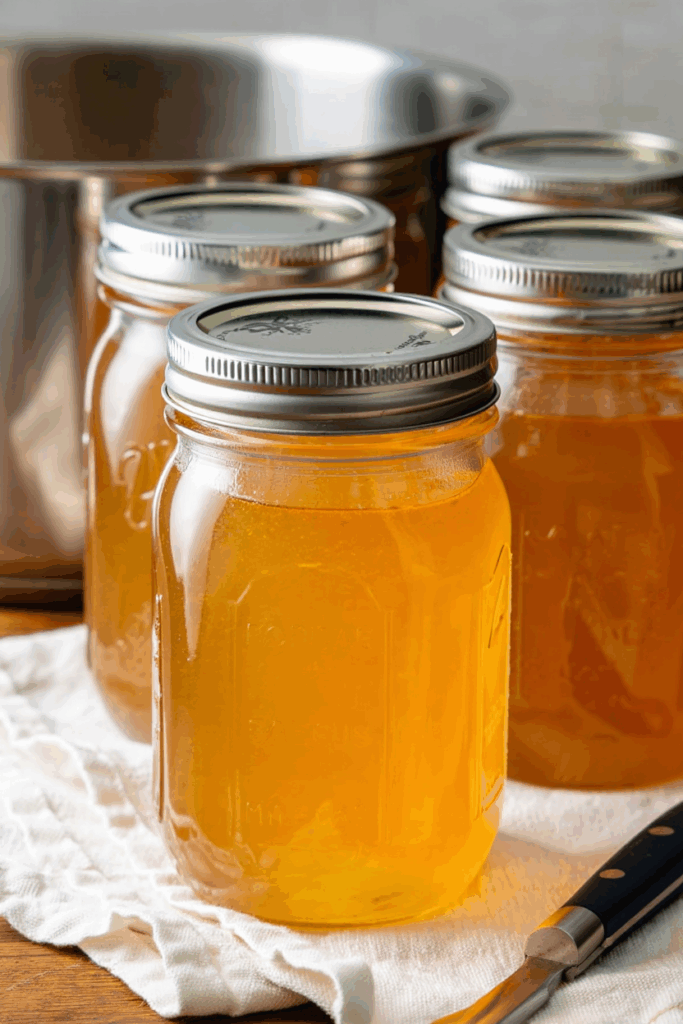
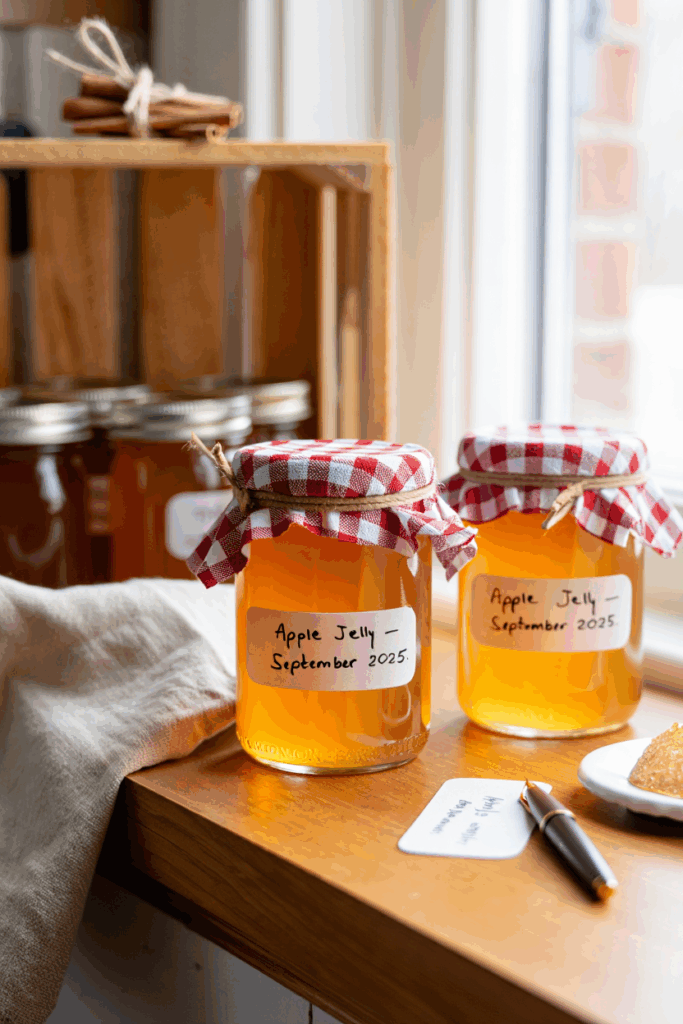
Once sealed, store your jars in a cool, dark pantry for up to 18 months. Opened jars can be refrigerated and used within 2 to 3 weeks. Add your decorative labels and ribbons for a charming touch if gifting. Always check that each jar is properly sealed before long-term storage.
Tips and Tricks
Choose tart apple varieties and mix in crabapples for higher natural pectin and better set.
- Let juice drip naturally without squeezing for the clearest jelly.
- Use an instant-read thermometer to hit the perfect gel temperature every time.
- Adjust processing times based on altitude for food safety.
- Add vanilla extract or a warm pinch of cinnamon after boiling for extra flavor, if desired.
- Label your jars with the date for easy tracking.
Flavor Variations
Try fun twists to make this recipe your own: add a sprig of rosemary or thyme while boiling for a herbal note, simmer with fresh ginger slices for warmth, or mix in a handful of cranberries during the juice stage for a festive holiday jelly.
Yield Estimate
From 4 cups of apple juice, this recipe usually makes about 4 half-pint jars of jelly. If you prefer pint jars, expect around 2 jars.
Serving Suggestions
Spread your delicious apple jelly on fresh bread, crackers with cream cheese, or in classic peanut butter and jelly sandwiches. It also pairs beautifully with cheeses and charcuterie boards for a fancy touch.
Old-Fashioned Apple Jelly (Without Pectin & Canning Recipe)
Equipment
- Large heavy-bottomed pot
- Potato masher
- Fine jelly bag or several layers of damp cheesecloth
- Large bowl for juice collection
- Instant-read thermometer
- 5 Canning jars (8 oz) with new lids and bands
- Jar lifter with squeeze-grip or scissor action
- Non-metal spatula or bubble remover
- Boiling water canner
- 2 soft cotton towels for cooling jars
Ingredients
- fresh apples (Granny Smith + crabapples work best) 6 lbs
- bottled lemon juice 2 tablespoons
- fresh orange juice 1/4 cup
- granulated sugar (organic preferred) 3 cups
- Water (just enough to cover apples in the pot)
Instructions
- Wash and quarter apples with peels and cores intact. Remove blossom ends. Place in large pot and add just enough water to cover. Bring to a boil, then simmer for 30 minutes until apples are soft. Gently mash with potato masher.
- Transfer pulp into a jelly bag or cheesecloth-lined strainer over a large bowl. Let drip naturally for several hours or overnight. Do not squeeze, as it may cloud the jelly.
- Measure 4 cups of juice. Pour into clean pot. Add lemon juice, orange juice, and sugar. Stir over medium heat until sugar dissolves.
- Bring to a rolling boil. Skim foam as needed. Cook until temperature reaches 220°F or jelly passes the cold plate wrinkle test.
- Sterilize jars and keep warm. Ladle hot jelly into jars, leaving 1/4 inch headspace. Use spatula to remove air bubbles. Wipe rims, apply lids, and tighten bands to fingertip tightness.
- Process in a boiling water bath for 10 minutes (adjust for altitude). Remove jars and place upright on a soft towel. Let cool undisturbed.
Notes
🧊Storage
- Store sealed jars in a cool, dark pantry for up to 18 months
- Refrigerate after opening and use within 2–3 weeks
- Label with date for easy tracking
💡Tips
- Use tart apples for best natural pectin and flavor
- Never squeeze the jelly bag—patience = clarity
- A pinch of cinnamon or a drop of vanilla can be added post-boil for variation
- Always test set with thermometer or plate test
- Use same jars and props throughout if photographing or gifting for a consistent look

