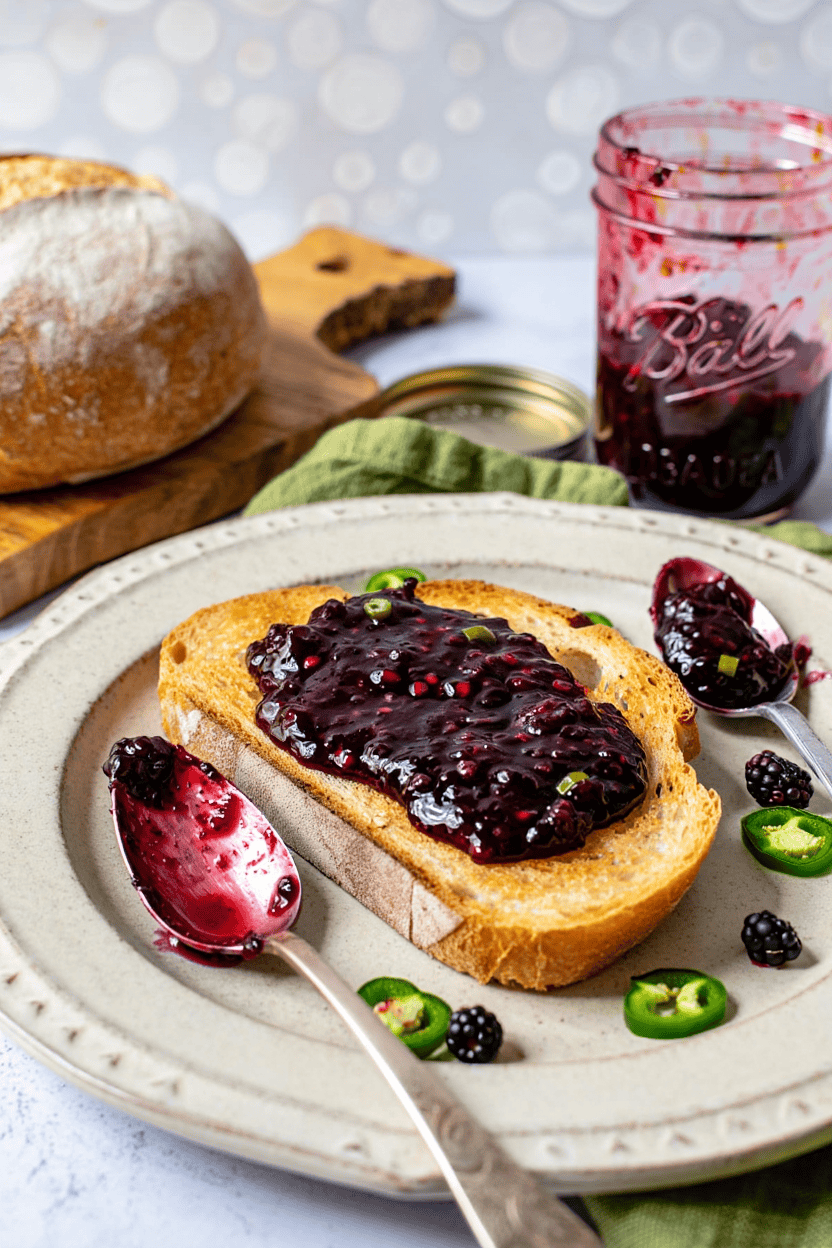
This blackberry jalapeño jam is sweet, slightly spicy, and incredibly easy to make with just four ingredients. If you love homemade jams and have a soft spot for blackberries, this one’s going to become a new favorite. It’s an easy, low-sugar recipe that doesn’t require any pectin, and it’s perfect for water bath canning or storing in the freezer for longer keeping.
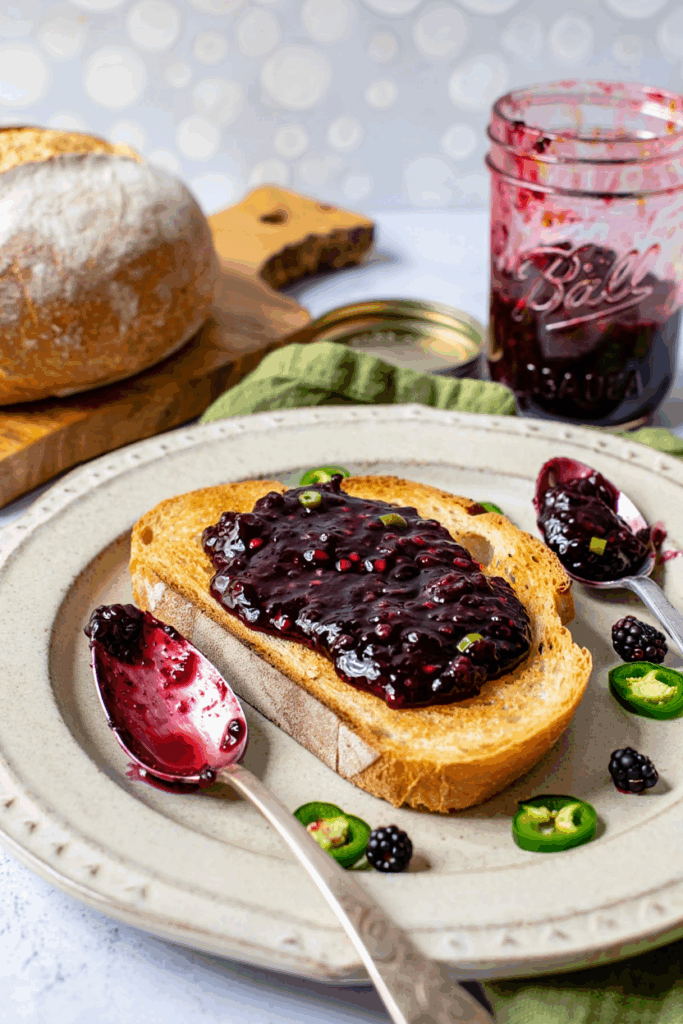
Blackberry jalapeño jam wasn’t something I grew up eating. In our house, jam was usually the classic stuff—strawberry, grape, or plain blackberry if we were lucky enough to pick a few buckets in late summer. It was always sweet, simple, and spread over toast or tucked into peanut butter sandwiches for school lunches. No one messed with peppers or fancy flavor twists back then.
A few years ago, that changed. I had a big batch of ripe blackberries sitting on the counter and a couple jalapeños from the garden that needed using. On a whim, I tossed them into the pot together. I didn’t expect much—just wanted to use what I had—but the result totally surprised me. The berries still brought that deep, rich flavor I remembered, but the jalapeños added something unexpected. Not too hot, just enough to make each bite a little more interesting.
Now it’s one of my favorite things to can each summer. It reminds me of those old jars from my childhood, but with a grown-up twist. Sweet, tangy, and just the right kick—it’s become a new kind of tradition.
What You’ll Need
You don’t need a fancy setup—just a handful of fresh ingredients and some basic canning tools. This is a safe water bath canning recipe, so you can store your jam at room temperature until opened.
Ingredients:
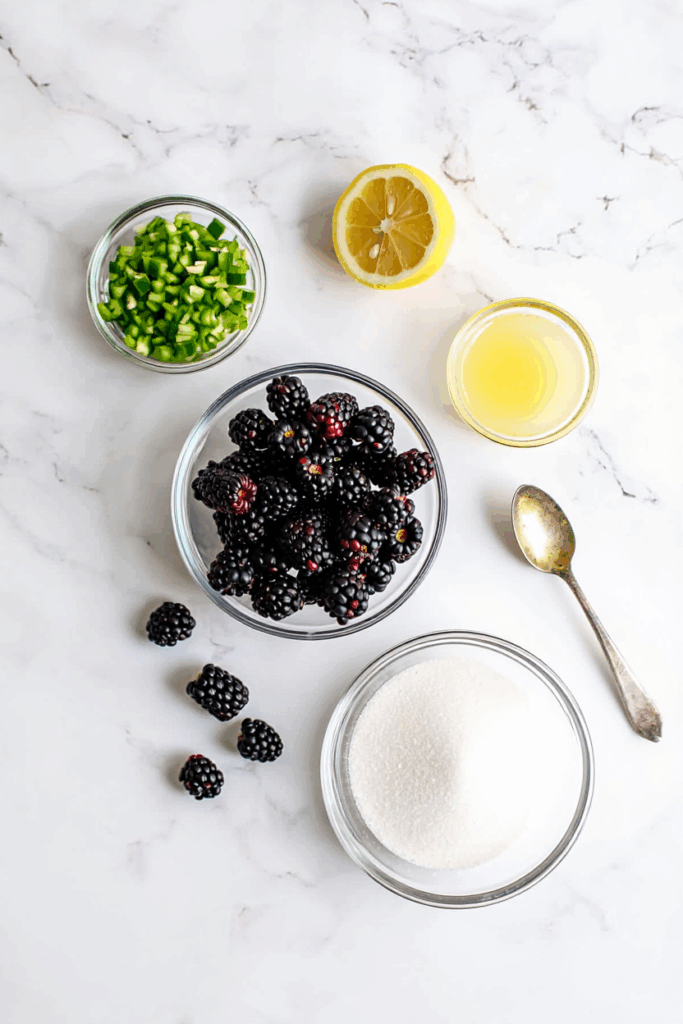
- 4 cups fresh blackberries – Rinse and pick out any stems or leaves. Slightly underripe berries work best for natural pectin.
- 1–2 jalapeños – Chopped, with seeds removed if you prefer a milder jam.
- 2 tablespoons lemon juice – Use bottled lemon juice for consistent acidity.
- 2 cups granulated sugar – Helps preserve the jam and gives it the right consistency.
Canning Equipment:
- Large pot or canning kettle – Deep enough for water to cover jars by at least 1 inch.
- 6–8 half-pint (8 oz) canning jars – Washed and sterilized.
- New lids and clean bands – Always use new lids for a proper seal.
- Jar lifter – For safely moving hot jars in and out of the water.
- Wide-mouth funnel – Helps fill jars neatly.
- Bubble remover or wooden chopstick – To release trapped air before sealing.
- Clean towel or paper towels – For wiping jar rims before adding lids.
- Candy or instant-read thermometer – Optional, but helpful to ensure the jam hits the gel point (220°F).
How to Make Blackberry Jalapeño Jam (No Pectin)
Prepare the blackberries.
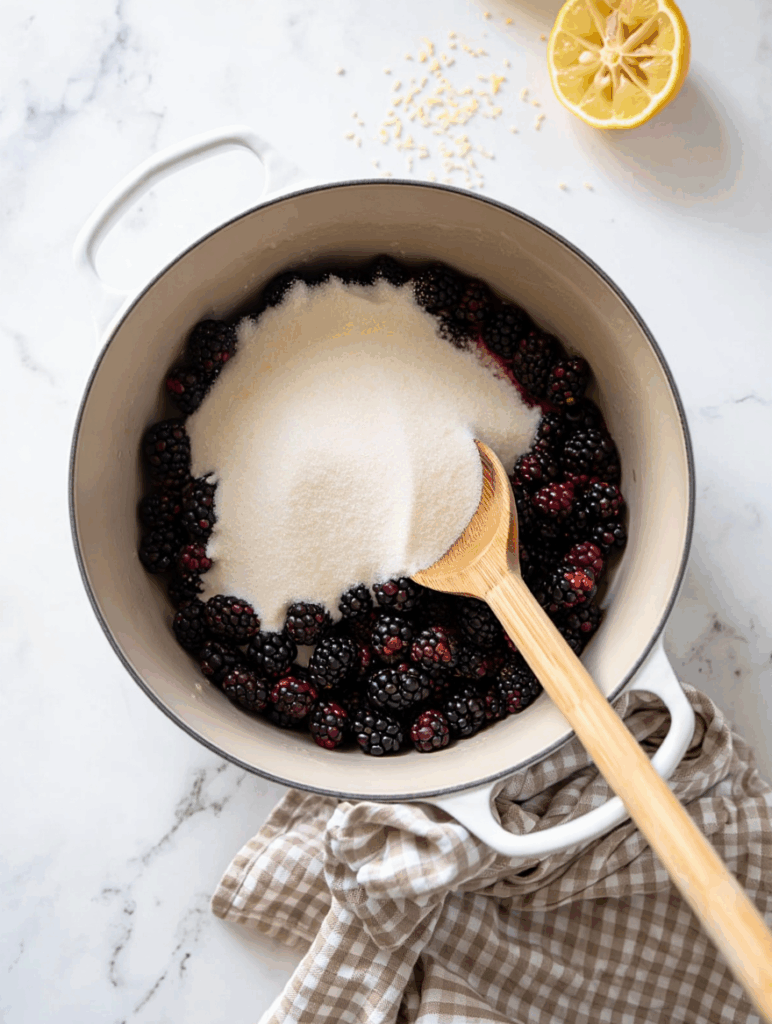
Add 4 cups of fresh blackberries sugar and 2 tablespoons of lemon juice to a large 8-quart saucepan. This pot needs to be big—the jam will bubble up as it boils. Bring the mixture to a boil over medium heat, then reduce to a simmer for 2–3 minutes.
Prep the jalapeños

While the berries cook, slice off the stem ends of 1–2 jalapeño peppers. Cut them in half lengthwise. Use a paring knife to remove the seeds and membranes if you want less heat. Slice into thin strips, then finely mince.
Mash the berries
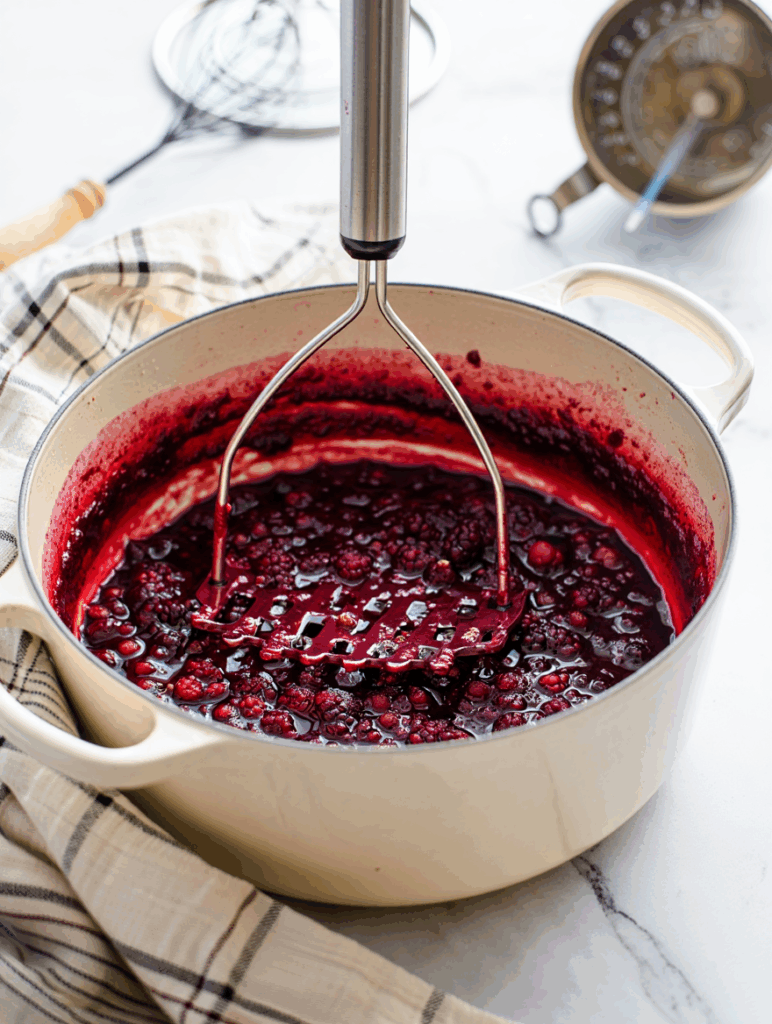
Use a potato masher or the back of a large spoon to mash the blackberries directly in the pot. Leave some texture or mash them smoother—your choice.
Add peppers
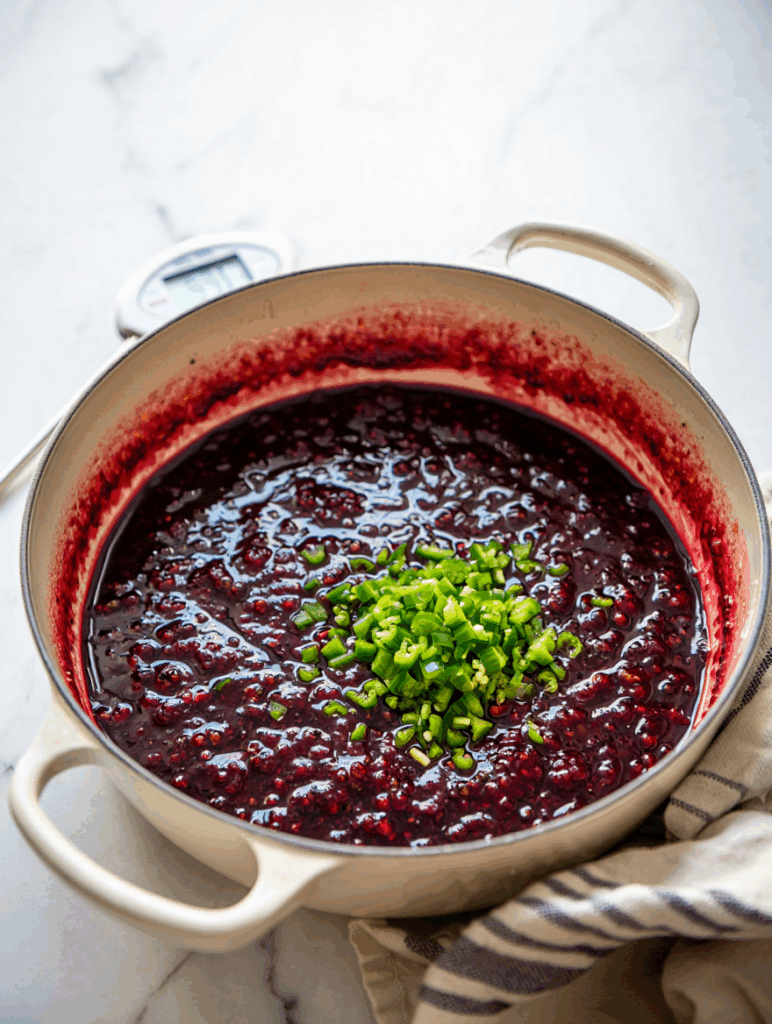
Stir in the minced jalapeños. Mix until the sugar begins to dissolve.
Boil and thicken

Turn the heat up to medium-high. Bring the mixture to a rolling boil, stirring often. Let it boil uncovered for 20–30 minutes, stirring frequently so it doesn’t stick. The jam will begin to thicken as it cooks.
Test for doneness
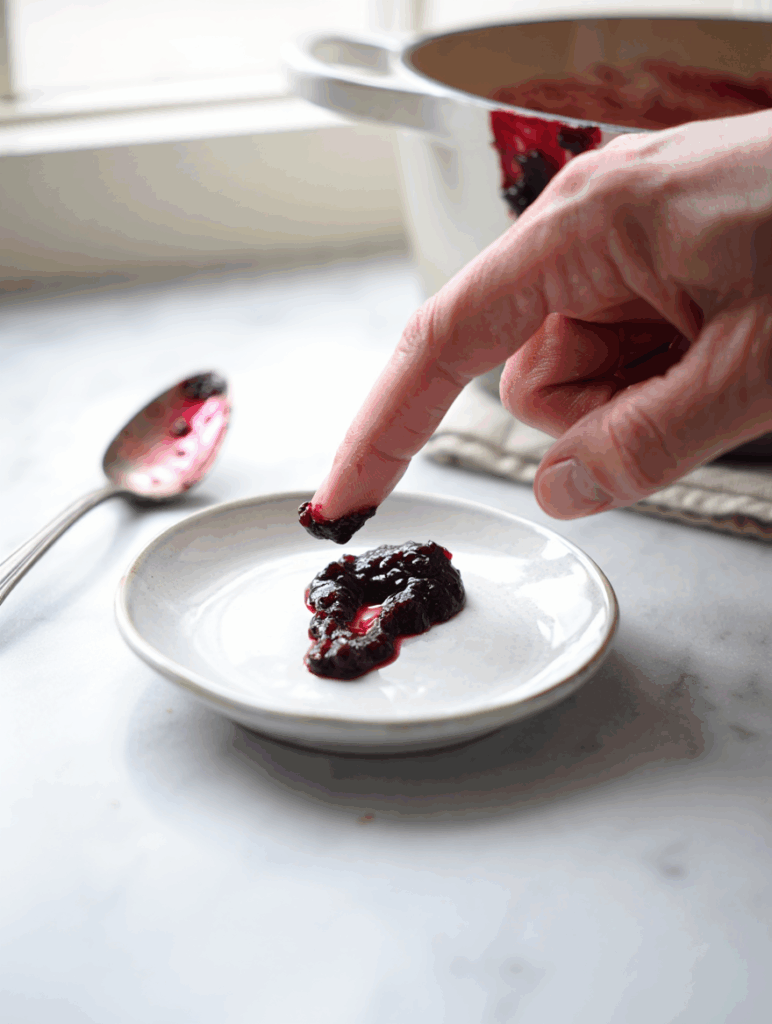
Use a candy thermometer to check that the jam has reached 220°F. If you don’t have one, spoon a bit of jam onto a cold plate and run your finger through it—if the line stays clean, it’s ready.
Skim and rest
Remove from heat and skim off any foam from the surface. Let the jam cool slightly for 5–10 minutes before filling jars.
How to Can Blackberry Jalapeño Jam (Water Bath Method)
Canning is totally optional for this recipe, and if you’re just planning to enjoy it right away, feel free to skip it and store the jam in the fridge. It’ll keep well for a few weeks in the refrigerator, or you can freeze it for up to 4 to 6 months. Just be sure to leave a little headspace if you’re freezing to allow for expansion.
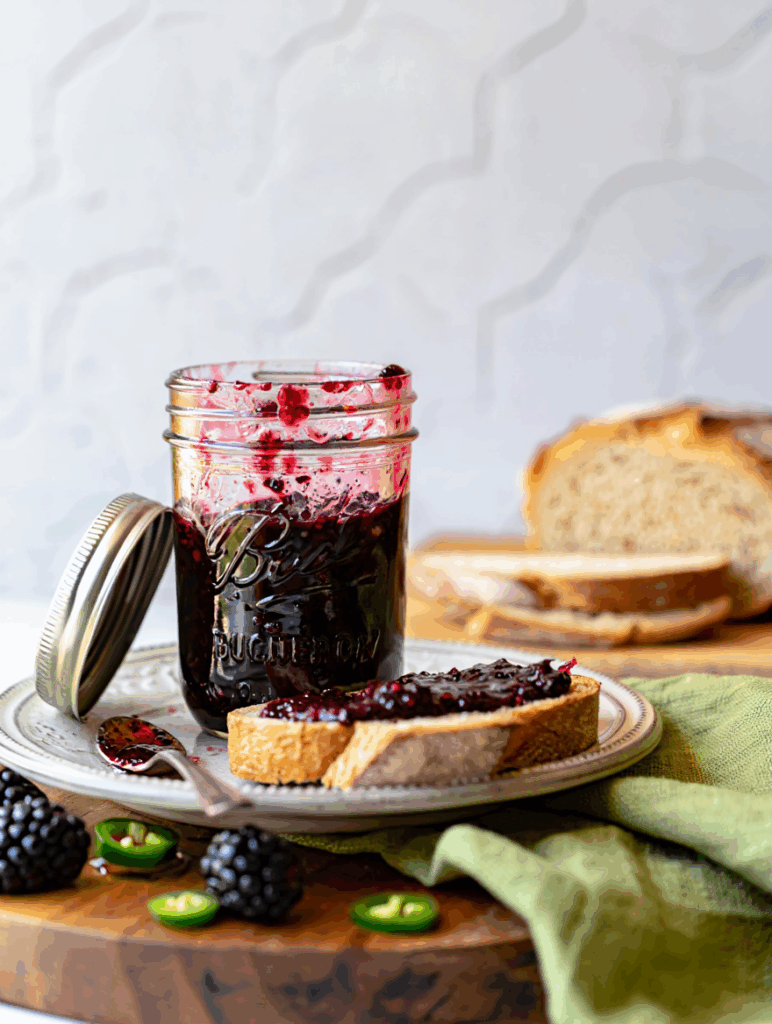
That said—I usually can mine. My fridge is always too full of leftovers and garden produce, so tucking jars neatly into the pantry feels like a small victory. Canning lets me enjoy this jam all year long without taking up precious fridge space. Just refrigerate after opening, like any other jam.
Because blackberries are naturally acidic and we’ve added lemon juice, this recipe is safe for water bath canning as long as you follow standard steps.
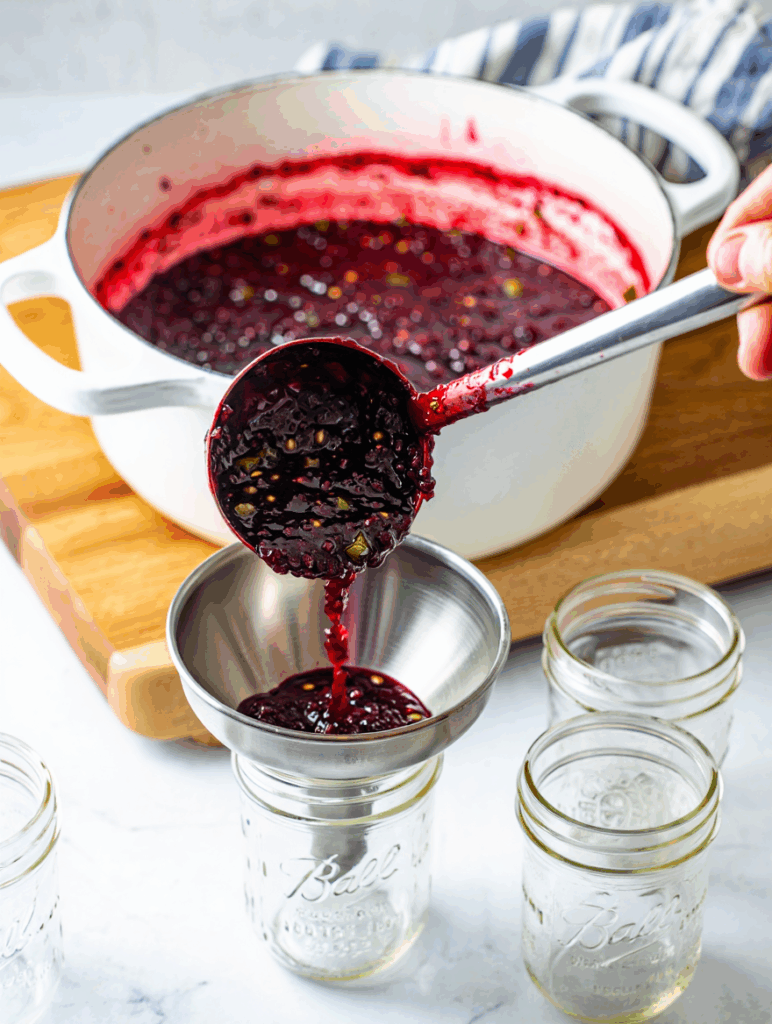
Before you start cooking, get your canning setup ready. Wash your half-pint jars, lids, and rings in hot soapy water. I usually keep my jars warm in a pot of hot water on the stove until it’s time to fill them. That helps prevent thermal shock when the hot jam goes in.
When your jam is finished and still hot, ladle it into warm jars, leaving about ¼ inch of headspace. Run a butter knife or bubble tool along the inside edges to let out any trapped air.

Wipe the rims clean with a damp cloth—this part’s important. A clean rim helps the lid seal properly. Set the lids on and screw the bands on finger-tight. Don’t overdo it—the air still needs to escape during processing.
Gently lower the jars into your water bath canner, making sure the jars are covered by at least an inch of water. Bring the water back to a full boil, then start your timer. Process for 10 minutes (add more time if you’re over 1,000 feet elevation—there’s plenty of altitude charts online if you need one).
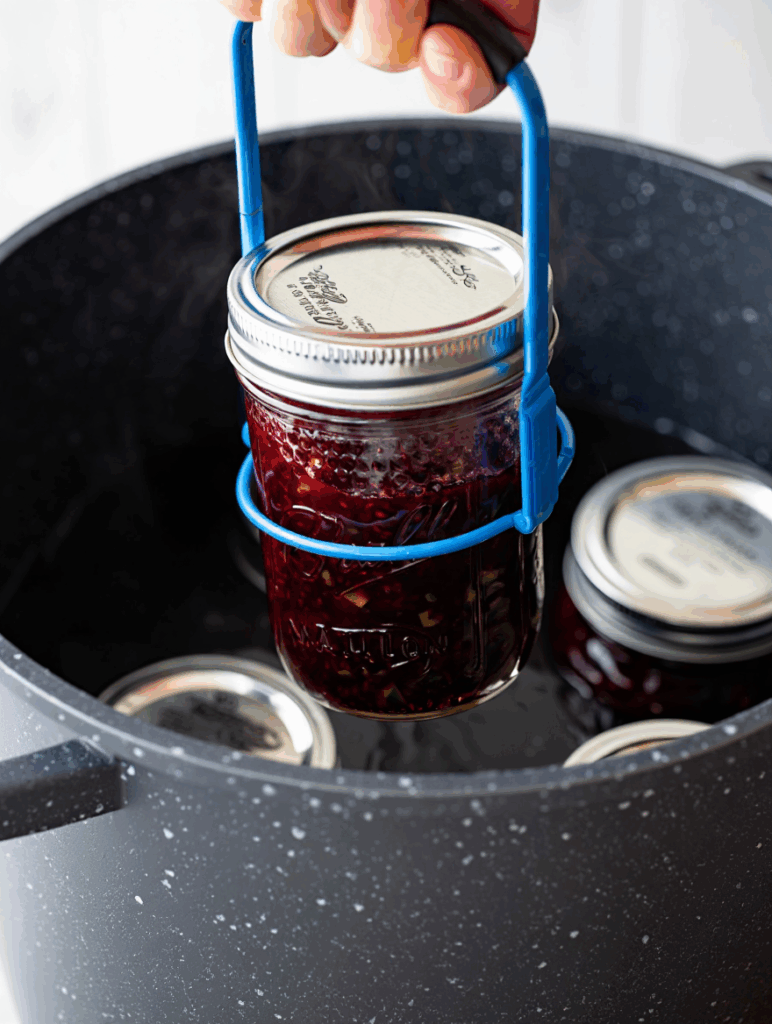
After processing, carefully lift the jars out with a jar lifter and place them on a towel on the counter. Let them cool undisturbed for at least 12 hours, or overnight. You’ll hear the soft little ping of the lids sealing as they cool—it never gets old.
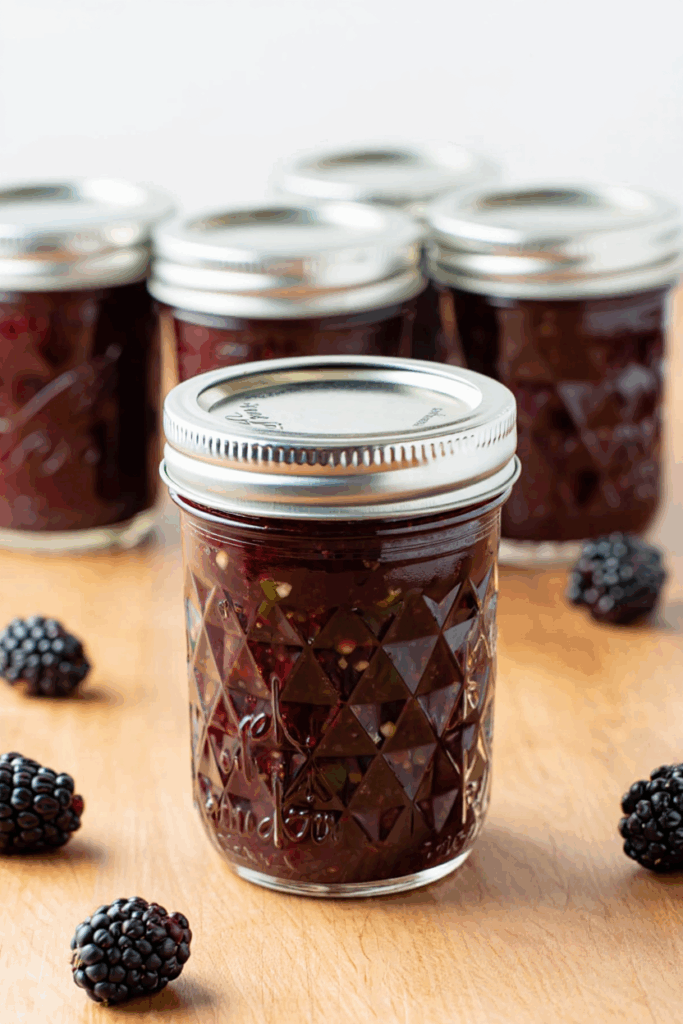
The next day, check your seals by pressing the center of each lid. If it doesn’t flex, you’ve got a good seal. Label your jars with the date and store them in a cool, dark place. They’ll keep on the shelf for a year, easy. Any jars that didn’t seal? Pop those in the fridge and enjoy them first.
Variations to Try
This jam’s got a solid base—sweet, earthy blackberries with just enough jalapeño to wake up the flavor. But it doesn’t have to stop there. Here are a few ways to give it a new spin, depending on what’s in the kitchen or the garden.
- Add some fire.: For a real kick, toss in a bit of habanero or serrano alongside the jalapeño. It won’t overpower the fruit, but it’ll definitely get noticed.
- Go wild with berries: Blackberries are bold, but they play well with others. Raspberries, blueberries, even a few chopped strawberries can round out the flavor and give the jam a little more depth. A mixed berry version adds color and a softer sweetness.
- Bring in citrus: Lemon keeps things bright, but swapping in orange juice and a bit of zest turns this into something a little sunnier and softer. Think marmalade vibes, but with more backbone.
- Try a savory note: A pinch of cracked black pepper or fresh thyme added right at the end creates a beautiful savory edge—especially good if the jam’s headed for a cheese board.
Blackberry Jalapeño Jam (No Pectin)
Ingredients
- fresh blackberries (rinsed and picked over) 4 cups
- jalapeños (finely chopped remove seeds for less heat) 2
- bottled lemon juice 2 tablespoons
- granulated sugar 2 cups
Instructions
- Add the blackberries and lemon juice to a large 8-quart pot. Set over medium heat and bring to a boil. Reduce the heat and let the mixture simmer for 2 to 3 minutes.
- While the berries are simmering, slice off the stems of the jalapeños, cut them in half lengthwise, and remove the seeds and membranes if desired. Finely mince the peppers.
- Mash the softened blackberries in the pot using a potato masher or the back of a spoon. Leave some texture or mash to a smoother consistency, depending on preference.
- Stir in the sugar and minced jalapeños. Mix until the sugar begins to dissolve.
- Raise the heat to medium-high and bring the mixture to a rolling boil. Let it boil uncovered for 20 to 30 minutes, stirring often to prevent sticking.
- Check for doneness by using a candy thermometer—the jam should reach 220°F. Alternatively, spoon a little jam onto a cold plate, wait a few seconds, and run a finger through it. If the line holds and doesn’t run back together, it’s ready.
- Remove from heat and skim off any foam that may have collected on top. Let the jam rest for 5 to 10 minutes before filling jars.
- Ladle hot jam into clean jars, leaving ¼ inch of headspace.
- If canning, transfer the hot jam into sterilized jars, wipe the rims, apply the lids, and process in a boiling water bath canner for 10 minutes (adjust for altitude if needed). Carefully remove the jars and let them cool undisturbed on a towel for 12 to 24 hours. Check that the lids have sealed before storing. Properly canned jars can be stored in a cool, dark place for up to 1 year.
- If skipping canning, allow the jars to cool completely at room temperature. Once cool, store in the refrigerator for up to 1 month or in the freezer for up to 6 months. If freezing, leave a little headspace to allow for expansion.
Notes
- Slightly underripe blackberries have more natural pectin and help the jam set better without needing commercial pectin. If using very ripe berries, simmer a little longer for a thicker consistency.
- Adjust the spice level by using one jalapeño for mild heat or two for a noticeable kick. For even more spice, leave some seeds in—or swap in a serrano or habanero.
- Always use lemon juice for canning recipes to ensure consistent acidity levels and safe water bath processing.
- Jam will thicken as it cools, so don’t worry if it still seems a bit loose in the pot after boiling. Give it time to set once jarred.
- For a smoother texture, strain the mashed berries through a fine mesh sieve to remove seeds before adding sugar and peppers.
- Altitude affects canning time. If above 1,000 feet in elevation, increase water bath processing time according to standard USDA guidelines.
- Use a wide-mouth funnel and jar lifter when canning—makes the process neater and safer, especially when handling hot jam.
- Lids must be new for safe canning. Reused rings are fine, but always use fresh flat lids that haven’t been sealed before.

