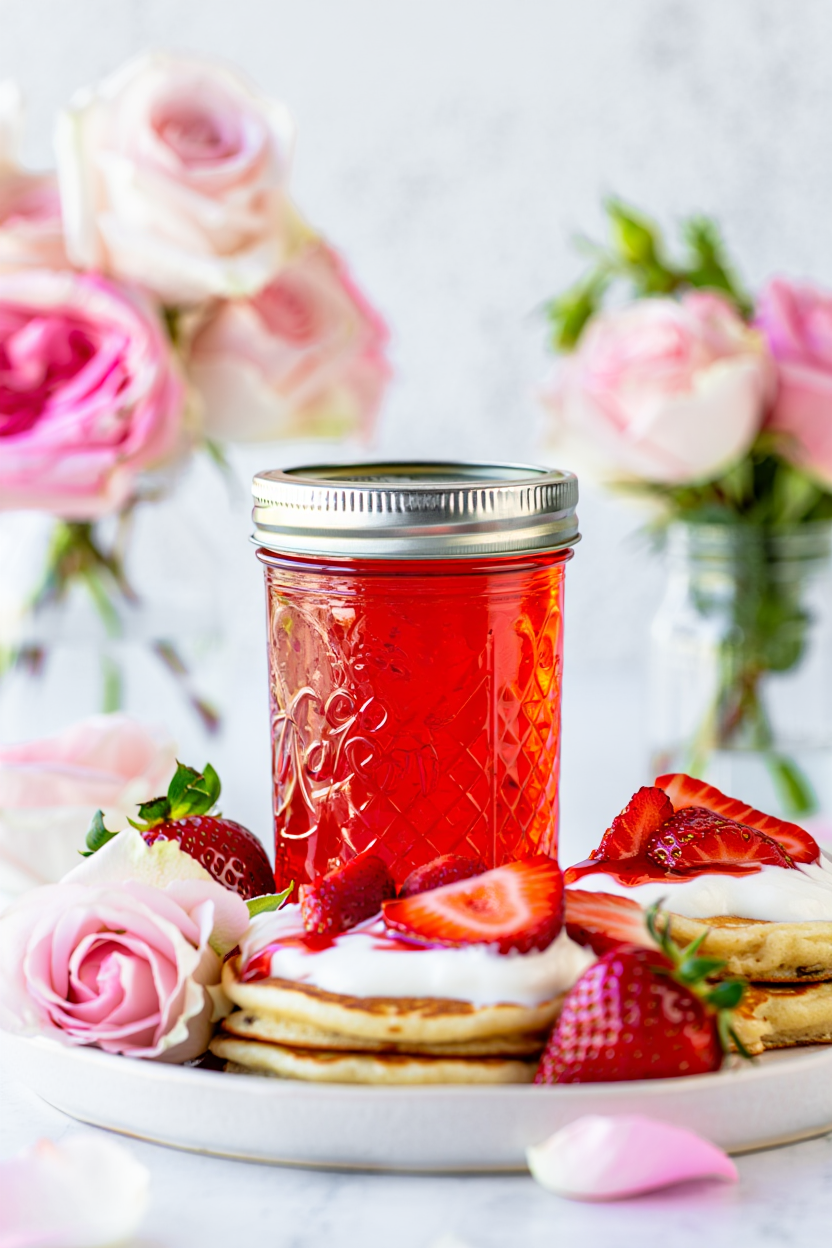
This homemade strawberry syrup is one of the easiest ways to keep that fresh spring flavor around—it only takes 3 ingredients (or just 2 if you don’t count the water). It’s amazing over pancakes, ice cream, or anything that could use a fruity touch. You can even swap in or mix it with other berries if that’s what you’ve got on hand!
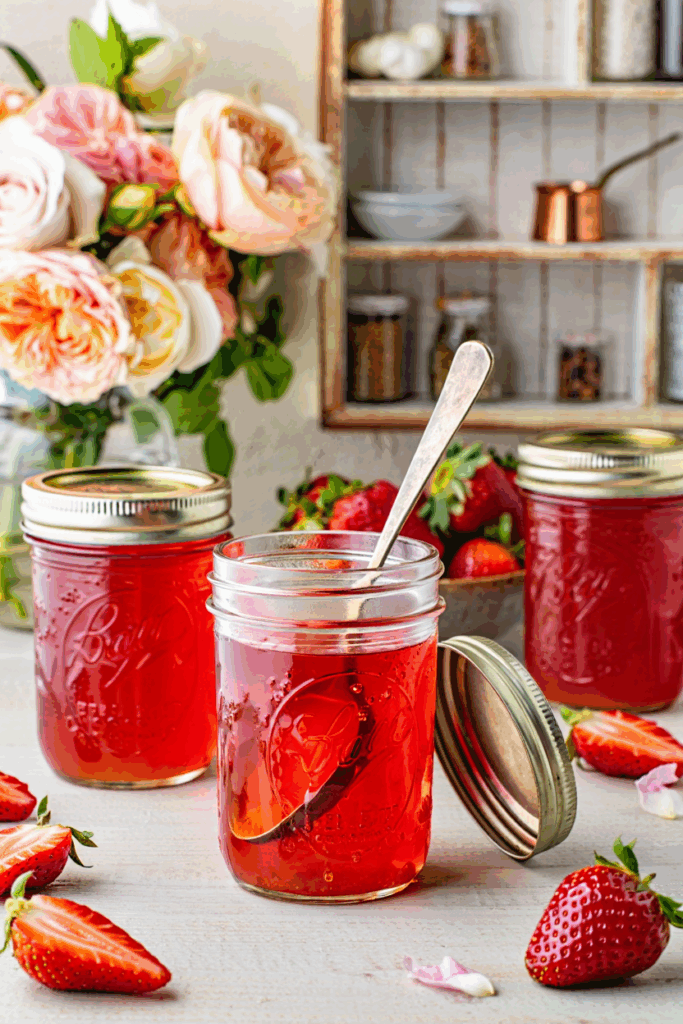
Strawberry season always brings a little extra joy. Maybe it’s seeing those first ripe berries after months of gray skies, or maybe it’s the way the house smells when they’re simmering on the stove—bright, sweet, and full of sunshine. I’ve made a lot of strawberry jams over the years, but this syrup feels different. It’s silky, easy to pour, and fits right in with everything from breakfast to dessert.
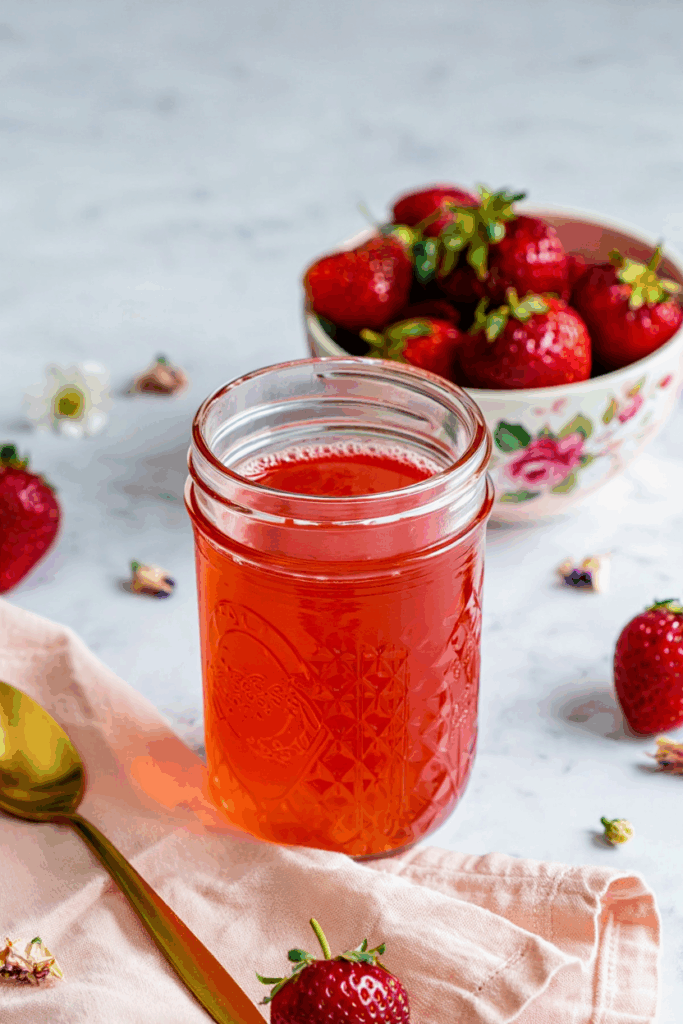
The first time I made it was purely by accident. I had way too many strawberries and wasn’t in the mood for jam, so I tried straining the juice instead. What I ended up with was a smooth, ruby-colored syrup that tasted like summer in a jar—so good, I nearly drank it straight. It reminded me of old soda shops and long summer afternoons, and now it’s something I make every spring.
It’s perfect over vanilla ice cream, stirred into lemonade, or poured over a stack of pancakes. I’ve even given jars away as gifts—and let’s just say they never last long in anyone’s kitchen.
In the steps below, I’ll walk you through how I make it from start to finish, including how to can it safely so you can enjoy the taste of spring no matter the season.
Ingredients for Strawberry Syrup
To make about 4 pint jars of strawberry syrup, you’ll need:
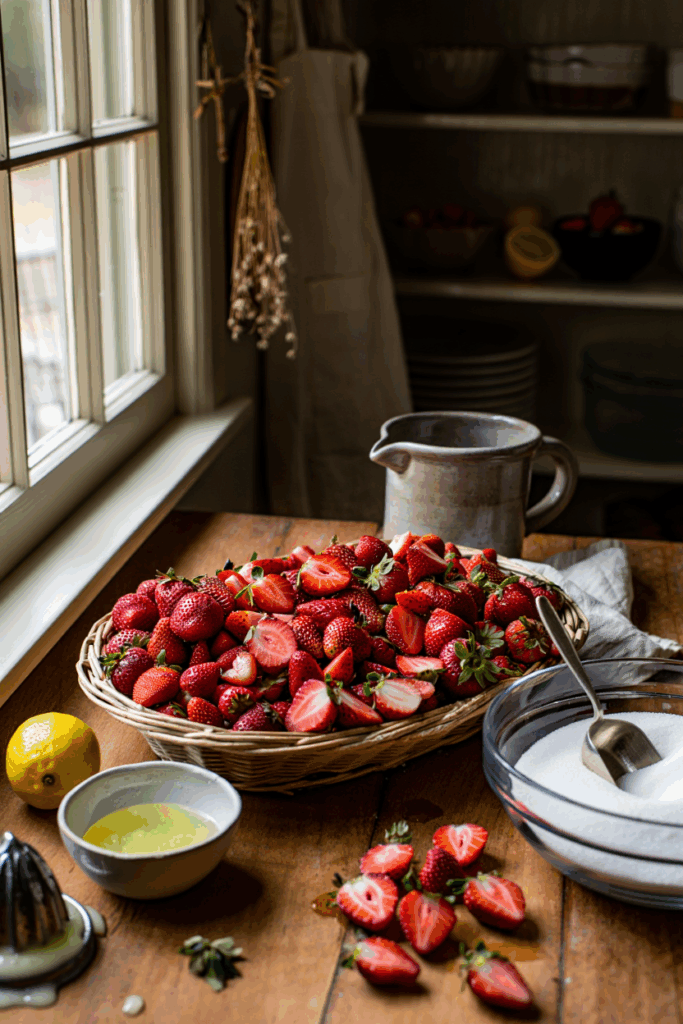
- 4 quarts fresh strawberries (washed, trimmed, and quartered)
- 1 to 1¼ cups of water
- ⅓ cup lemon juice (fresh-squeezed is best, strained)
- 5 cups granulated sugar
- Optional: up to ½ cup additional fruit juice (apple or cranberry), if you fall short of 5 cups of strawberry juice after straining
- When selecting the strawberries use strawberries that have a bright red flavor, taste good, and are red all the way through.
- Don’t use strawberries that are moldy or have large brown spots. The mold is not good for you and the brown spots have a bitter taste.
- Leave the strawberries in large pieces so you are able to extract the color and flavor with out a lot of pulp.
Note: If your strawberries are very sweet, you can reduce the sugar slightly. If they’re more tart, stick with the full amount.
Equipment You’ll Need
- Large pot or jam pan
- Potato masher or heavy spoon (for crushing the berries)
- Fine mesh strainer or sieve
- Large bowl (for collecting the juice)
- Cheesecloth (3–4 layers for clearer juice)
- 4 clean pint-size mason jars with 2-part lids (bands + flat lids)
- Canning funnel (helps avoid spills and keeps rim clean)
- Jar lifter (to safely move hot jars)
- Water bath canner or deep stock pot with a rack
How to Make Strawberry Syrup
Step 1: Prepare the strawberries
Rinse about 4 quarts of fresh strawberries under cool water. Remove the green tops and cut the berries into quarters. Discard any that are mushy, moldy, or bruised.
Step 2: Mash and cook

In small batches, mash the strawberries with a potato masher or a sturdy wooden muddler. Transfer the mashed berries into a large pot.
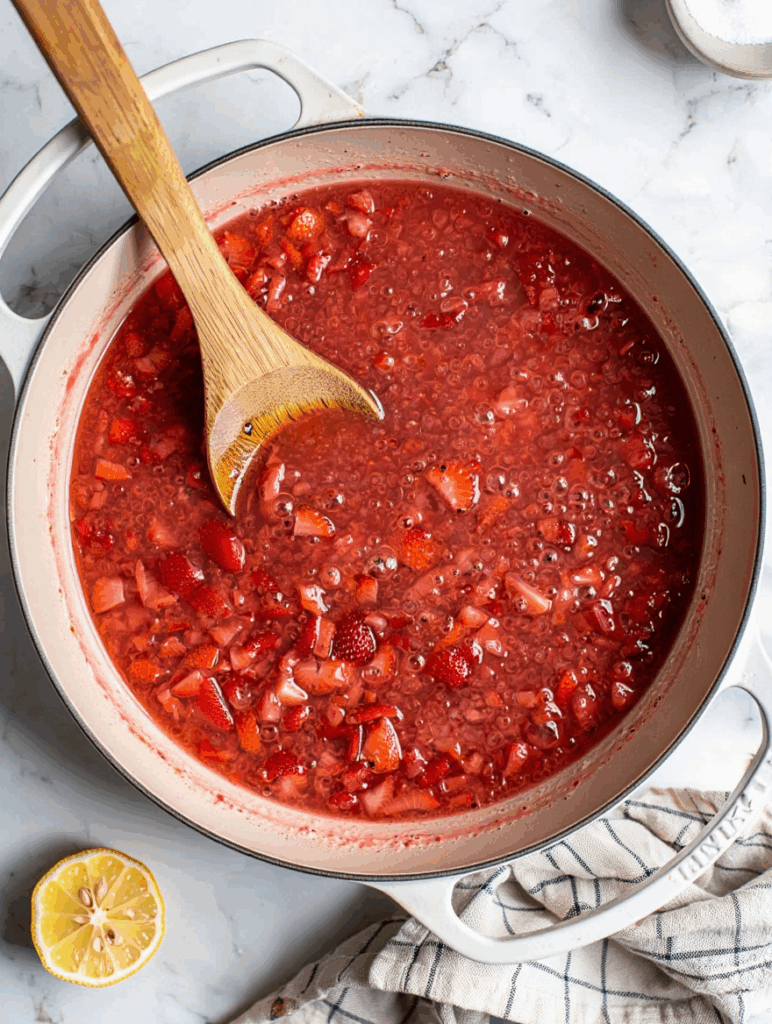
Add 1¼ cups water and bring to a boil over medium-high heat. Once boiling, reduce the heat, cover, and simmer for 10 minutes.
Step 3: Strain the juice
Remove from heat, uncover, and skim off any foam. Let the mixture cool for about 15 minutes.
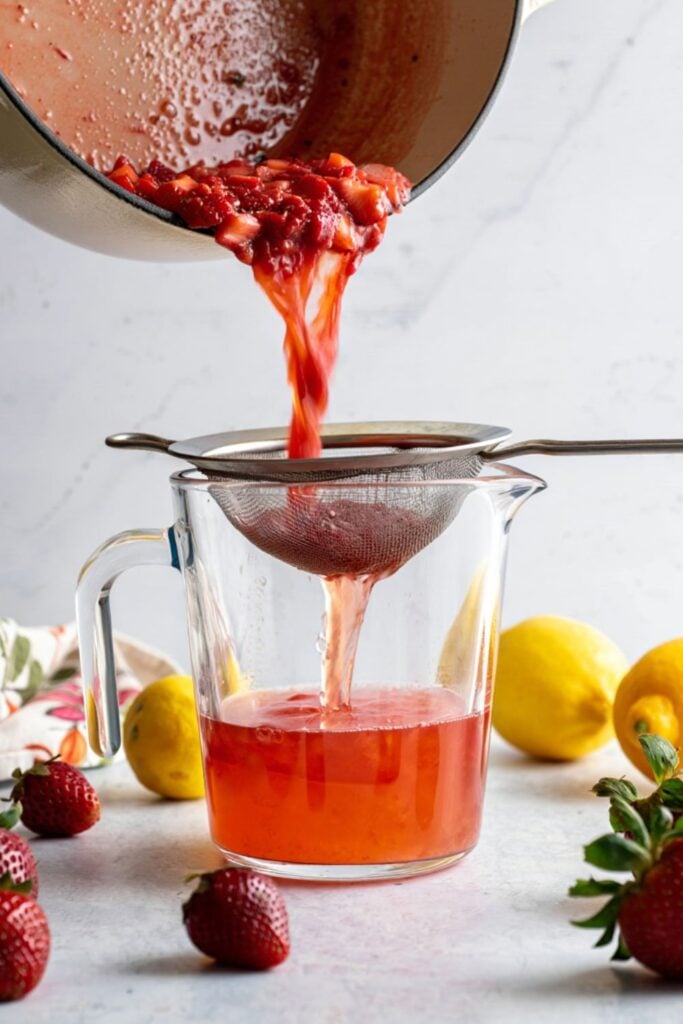

Set a fine mesh sieve over a large bowl and strain the berries in batches, letting the juice drip naturally—don’t press the pulp. Let each batch sit for around 30 minutes before removing the pulp and adding more.
Step 4: Strain again for clarity
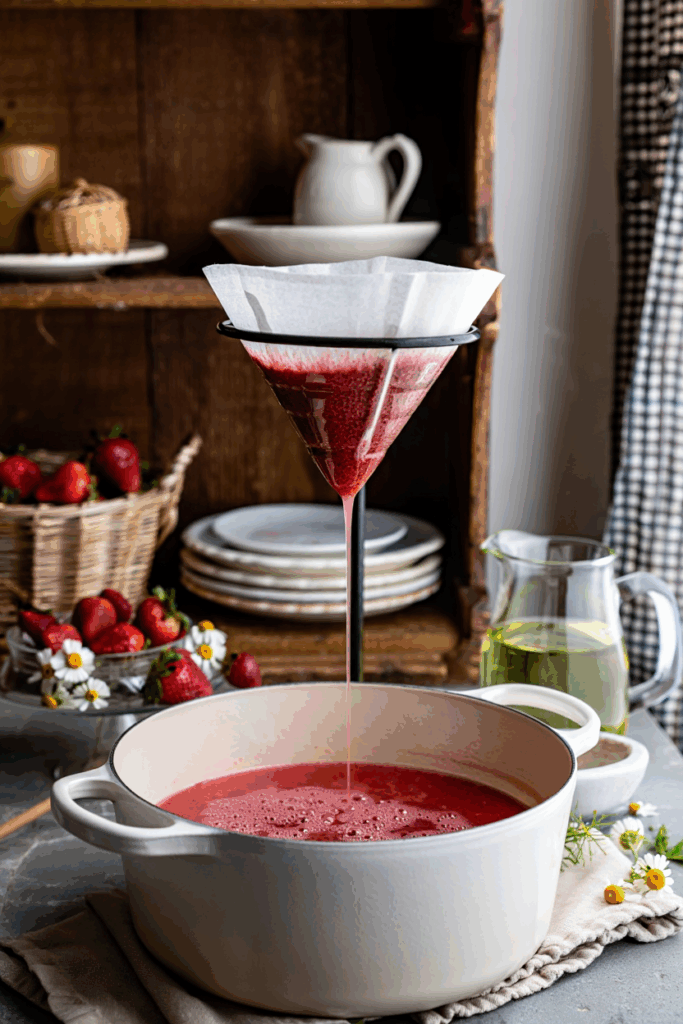
Rinse the sieve, then line it with 3–4 layers of cheesecloth and strain the juice again. For a clearer syrup, run it one more time through a paper coffee filter. You should end up with 5 cups of strawberry juice.
If you’re a bit short, top it off with a mild fruit juice like white grape, pear, apple, or even more strawberry juice. Avoid strong flavors like orange or cranberry.
Step 5: Make the syrup
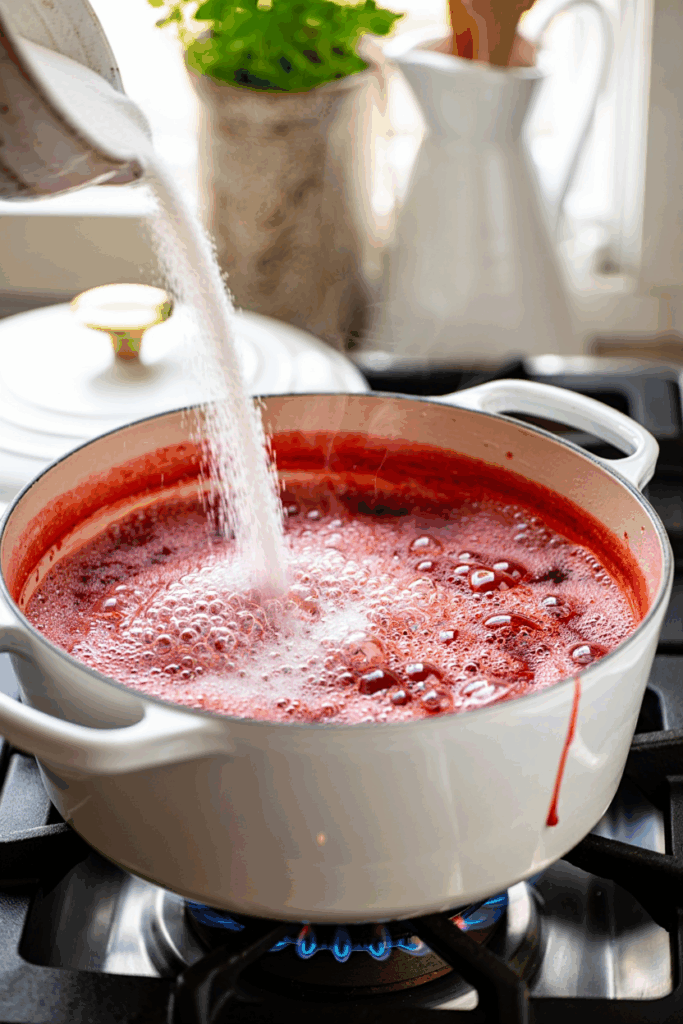
Pour the 4 cups of juice into a clean pot. Add ¼ cup lemon juice (fresh or bottled) and 5 cups of sugar.
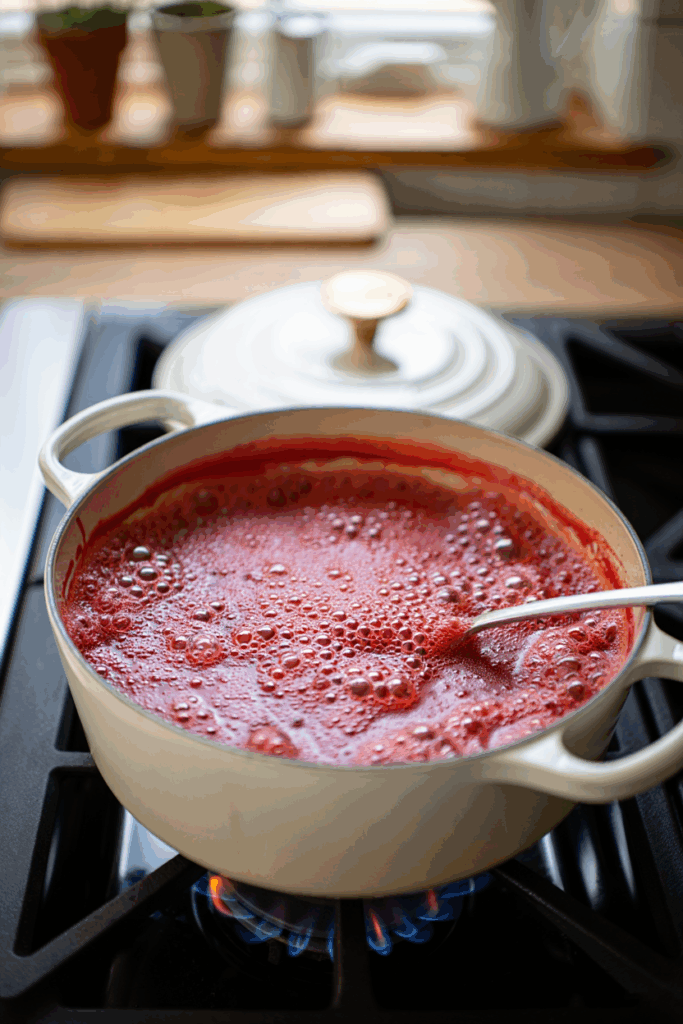
Stir over medium heat until the sugar fully dissolves. Bring the syrup to a boil, then reduce the heat and simmer for 15 minutes. Skim off any foam that rises.
Step 6: Fill and store
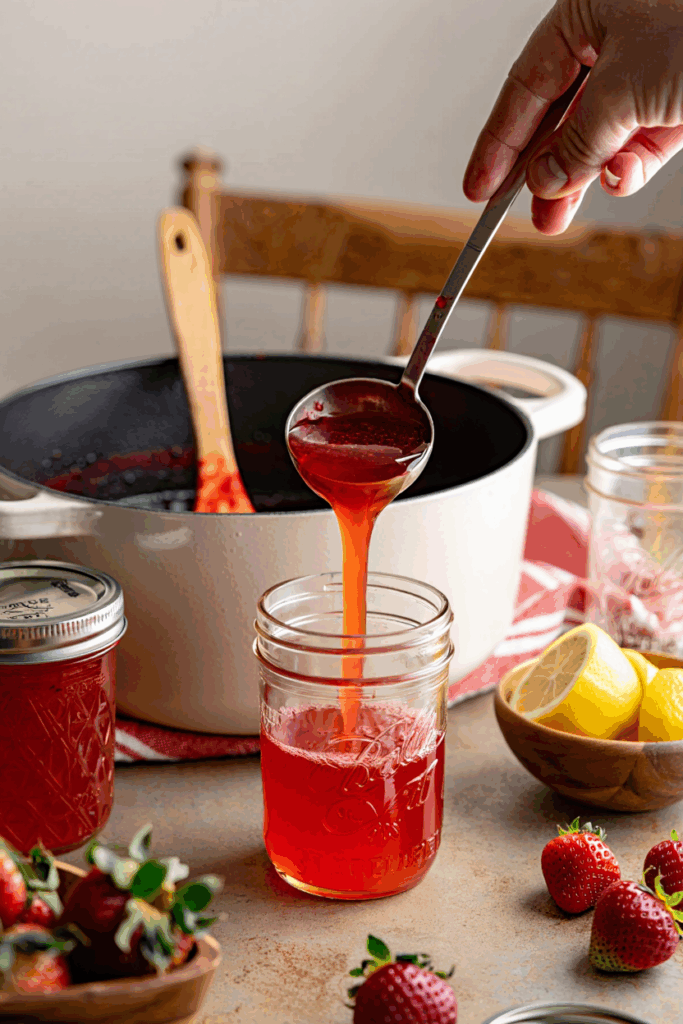
Carefully pour the hot syrup into clean pint jars, leaving ¼ inch of headspace. Wipe the rims, apply the lids, and tighten the bands until fingertip-tight.
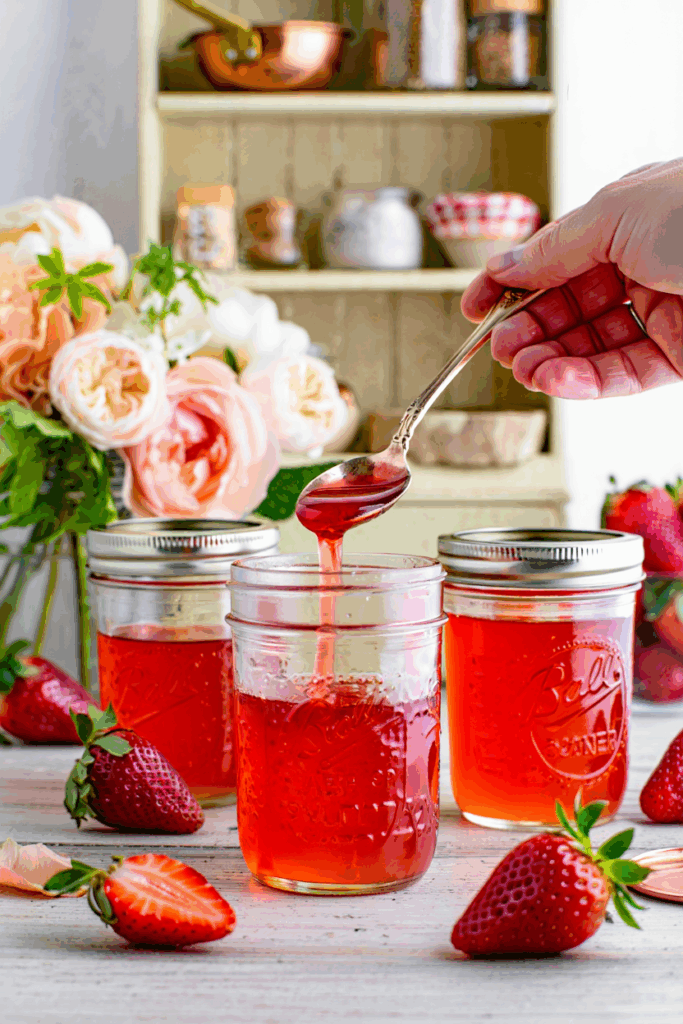
- If not canning: Let the jars cool, then store in the refrigerator for up to 2 weeks or freeze for up to 4 months.
Canning Strawberry Syrup
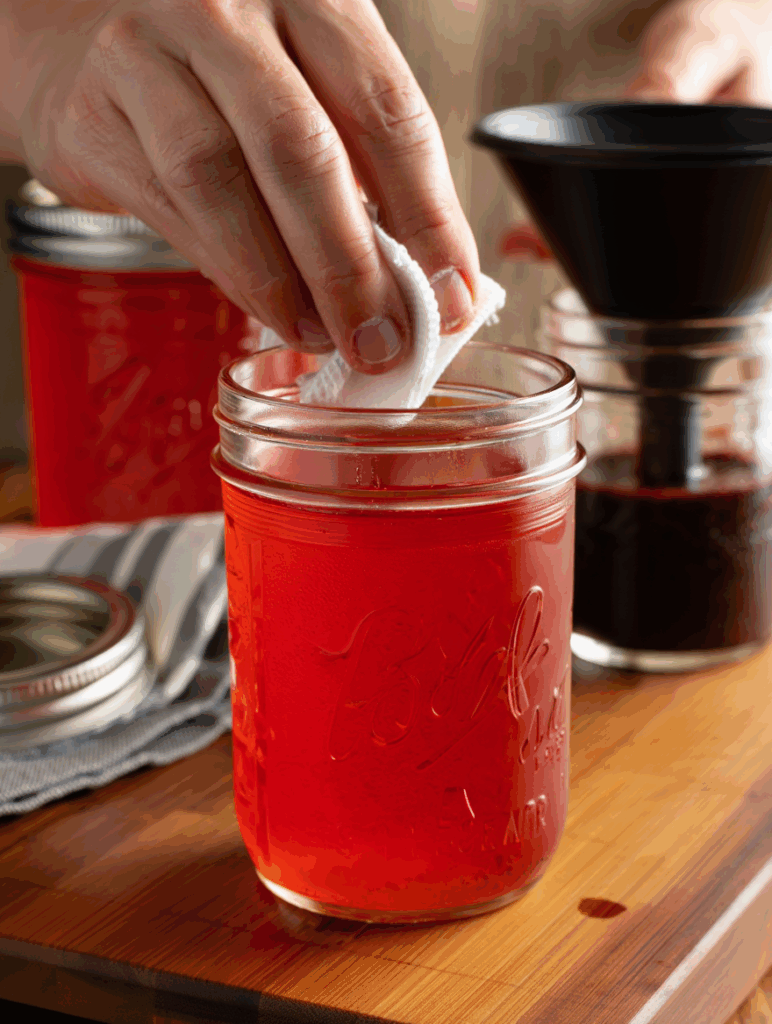
When your syrup is finished and still hot, carefully ladle it into warm, sterilized jars. Be sure to leave about ¼ inch of space at the top. This headspace is important for a proper seal. Use a clean, damp cloth to wipe the rims and remove any spills or stickiness.
Place the lids on the jars and screw on the bands just until they’re secure—don’t overtighten.
Using a jar lifter, lower the jars into a pot of boiling water. The water should fully cover the jars by at least an inch.
Once the water is back to a full boil, process the jars:
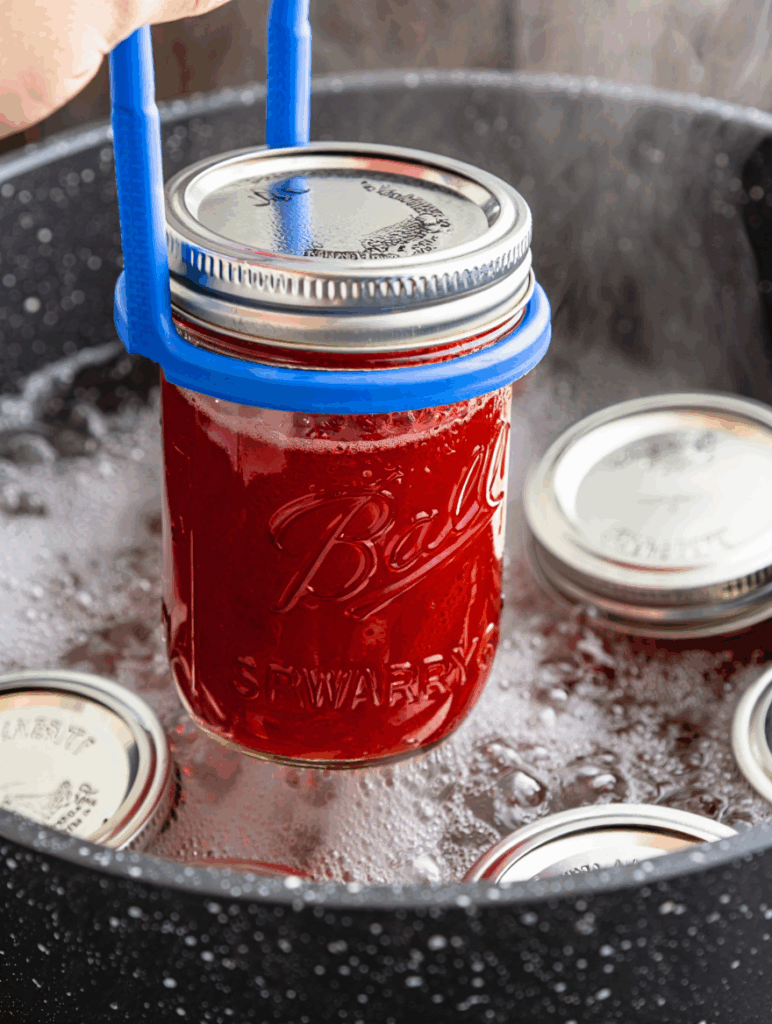
- Half-pint (8 oz) jars: 10 minutes (add 5 extra minutes if you’re above 6,000 feet)
- Pint (16 oz) jars: 15 minutes (or 20 minutes at higher altitudes)
After processing, turn off the heat and let the jars rest in the canner for 5 minutes before moving them. Lift them out and set them on a towel-lined surface. Let the jars cool completely for 24 hours without touching or disturbing them.
The next day, check each lid to make sure it sealed. Any jars that didn’t seal should go in the refrigerator and be used within 2 weeks.
Properly sealed jars can be kept in a cool, dark place for up to 18 months. Once opened, store them in the fridge and use within a few weeks.
Homemade strawberry syrup is even better when it’s shelf-stable—ready to enjoy anytime or share with someone special.
How to Use Strawberry Syrup
Once you’ve got your homemade strawberry syrup, the fun part is figuring out all the delicious ways to use it. Around here, it disappears fast—and not just on pancakes!
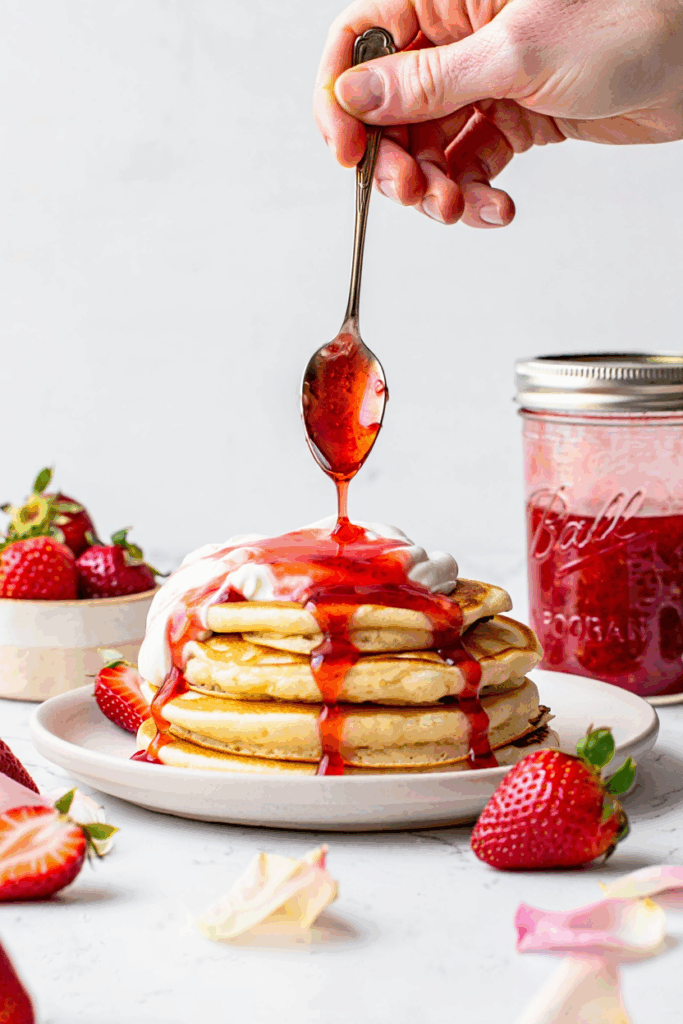
I pour it over weekend waffles, buttermilk pancakes, or even French toast when we want something special. It also adds the perfect fruity swirl to plain yogurt or a bowl of vanilla ice cream.
In summer, I love stirring a spoonful into iced tea, lemonade, or sparkling water for a homemade strawberry refresher. It’s also great in cocktails or mocktails—especially when mixed with fresh mint or basil.
You can brush it over pound cake or cheesecake for a glossy, flavorful finish, or use it in place of maple syrup in a PB&J twist on toast. I’ve even used it to flavor whipped cream or as a quick glaze for fresh berries.
Recipe Variations
Once you’ve made the classic strawberry syrup, it’s easy to get creative with new flavors. Here are a few simple variations to try the next time you make a batch.
Strawberry Vanilla Syrup: Stir in one or two teaspoons of pure vanilla extract after the syrup is done cooking. It adds a soft, rich depth and pairs beautifully with pancakes, waffles, or ice cream.
Mixed Berry Syrup: Replace half of the strawberries with blueberries, raspberries, or blackberries. The syrup will be deeper in color and a little more tart, making it perfect for yogurt or breakfast bowls.
Strawberry Balsamic or Red Wine Syrup: Add a tablespoon or two of balsamic vinegar or red wine while the syrup simmers. This version has a more complex flavor and works well with cheese boards, roasted fruit, or even drizzled over grilled meat.
Homemade Strawberry Syrup
Ingredients
- Fresh or frozen strawberries (hulled and halved – 4 cups)
- Granulated sugar – 2 cups
- Water – ½ cup
- Bottled lemon juice (5% acidity – 1 tablespoon)
Instructions
- Rinse strawberries under cool water. Discard overripe or damaged fruit. Remove stems and soft spots. Quarter the berries.
- Mash berries in batches using a masher or heavy spoon.
- Transfer mashed berries to a large pot. Add 1 cup of water. Bring to a boil over medium-high heat.
- Reduce to medium-low and simmer for 10 minutes, stirring occasionally.
- Remove from heat. Skim foam. Cool for 15 minutes.
- Set a fine mesh sieve over a bowl. Ladle in strawberry mixture. Let strain for 30 minutes. Do not press. Discard pulp. Repeat with remaining mixture.
- Rinse sieve. Line with 3–4 layers of cheesecloth. Strain juice again into a clean bowl. Discard residue and cheesecloth.
- Line cleaned sieve with a coffee filter. Strain juice a third time for clarity.
- Measure 4 cups of strained juice into a saucepan. Add ¼ cup strained lemon juice.
- Set over medium-low heat. Add 4 cups sugar. Stir until dissolved.
- Increase to medium-high. Bring to a boil. Reduce to medium-low and simmer uncovered for 15 minutes, stirring occasionally. Skim foam.
- Ladle hot syrup into sterilized half-pint jars, leaving ¼ inch headspace. Wipe rims clean. Apply lids and rings. Tighten to fingertip-tight.
- Process in boiling water bath for 10 minutes (15 minutes if above 6,000 feet). For pint jars: 15 minutes (20 minutes if above 6,000 feet).
- Turn off heat. Let jars rest in canner for 5 minutes. Remove and cool on towel-lined surface for 12–24 hours.
- Check seals. Store sealed jars in a cool, dark place for up to 18 months. Refrigerate after opening. Unsealed jars should be refrigerated and used within 1 month. Syrup can also be frozen up to 6 months.
Notes
- Avoid mashing or pressing the berries to keep the syrup smooth and free of pulp.
- You can flavor the syrup by adding fresh mint, vanilla, or citrus zest while simmering—just strain them out with the berries.
- Store unprocessed syrup in the refrigerator for up to 3 weeks, or freeze in small containers.
- Sealed jars will keep for up to 18 months in a cool, dark pantry.

