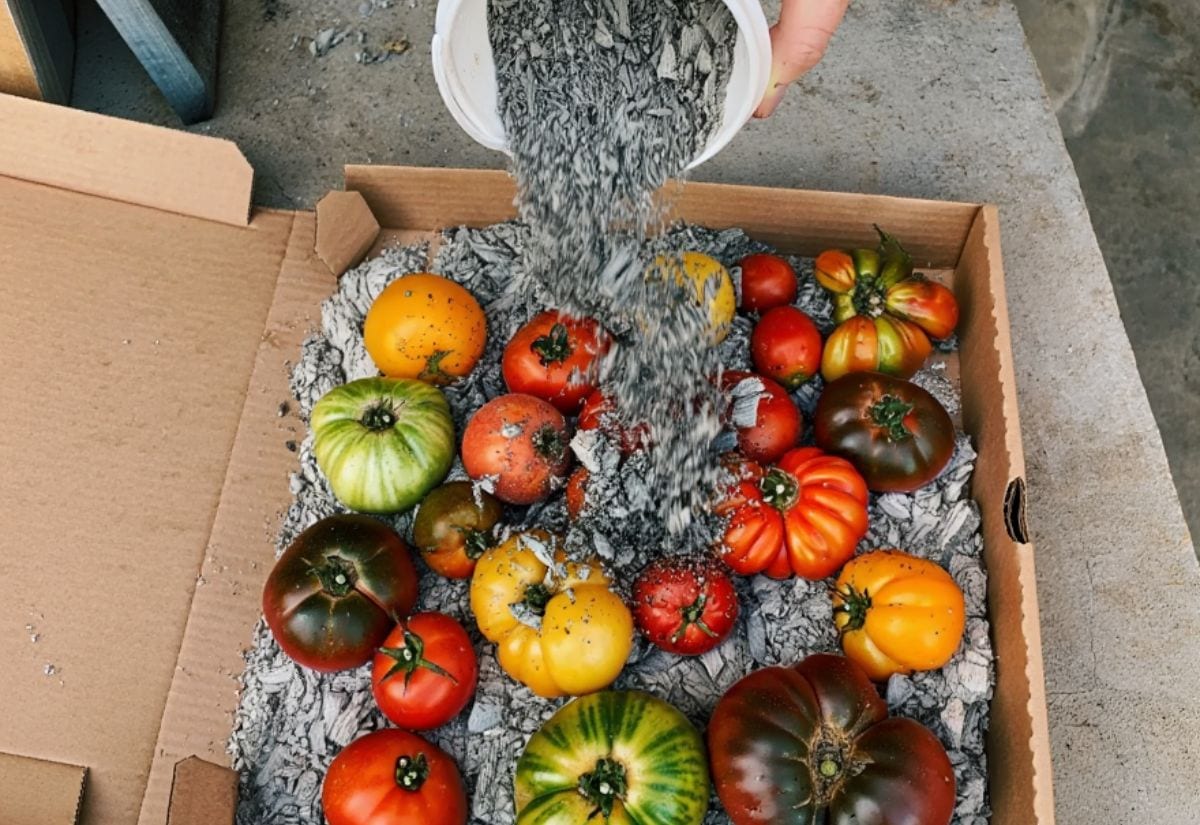
If you’ve ever grown a few tomato plants, you already know how it goes. For weeks, you wait. You water. You check for that first hint of red. You get excited over one or two ripening at a time. And then—boom. Out of nowhere, your plants are exploding with ripe tomatoes, all at once.
It’s a beautiful problem to have… until your countertops, baskets, and bowls are overflowing. And unless you’re planning to spend an entire weekend making sauce or filling jars, it can quickly become overwhelming.
Sure, you could toss them in the fridge—but you know what that does. They lose their flavor, the texture turns mealy, and they taste like store-bought again. You could try canning, but maybe you don’t have time or the gear. You could freeze them, but that takes up space—and frozen tomatoes aren’t quite the same.
So what’s left?
Something old. Something simple. Something your great-grandparents may have done without ever thinking twice: preserving tomatoes in wood ash.

Yes—plain old wood ash. The soft gray powder left in the bottom of your fireplace or wood stove after a night of burning logs. As strange as it sounds, this method works. And not just for a few days or weeks, but for months.
What Makes Wood Ash So Effective?
Let’s look at what wood ash does. First, it absorbs moisture. That’s important, because excess moisture is what causes most fruits to rot. It also cuts off air flow, which slows down ripening and prevents mold. On top of that, ash has mild antimicrobial properties that help protect against bacteria and pests. Think of it as a natural cushion that seals your tomatoes off from everything that wants to spoil them.

Another benefit? It separates each fruit. One of the main causes of spoilage in tomatoes is crowding—when they sit stacked on top of each other, the soft skins bruise, get warm, and start to rot. With wood ash, each tomato gets its own little “pocket” of space, suspended in a dry, breathable medium.
This isn’t a trick or a fad. Gardeners in parts of Africa, India, the Mediterranean, and even early America used this method to store produce long before refrigeration existed. Tomatoes, eggs, citrus fruit, and even root vegetables were packed in ash and kept fresh deep into the colder months.
How to Preserve Tomatoes in Ash
Step 1: Pick the right container
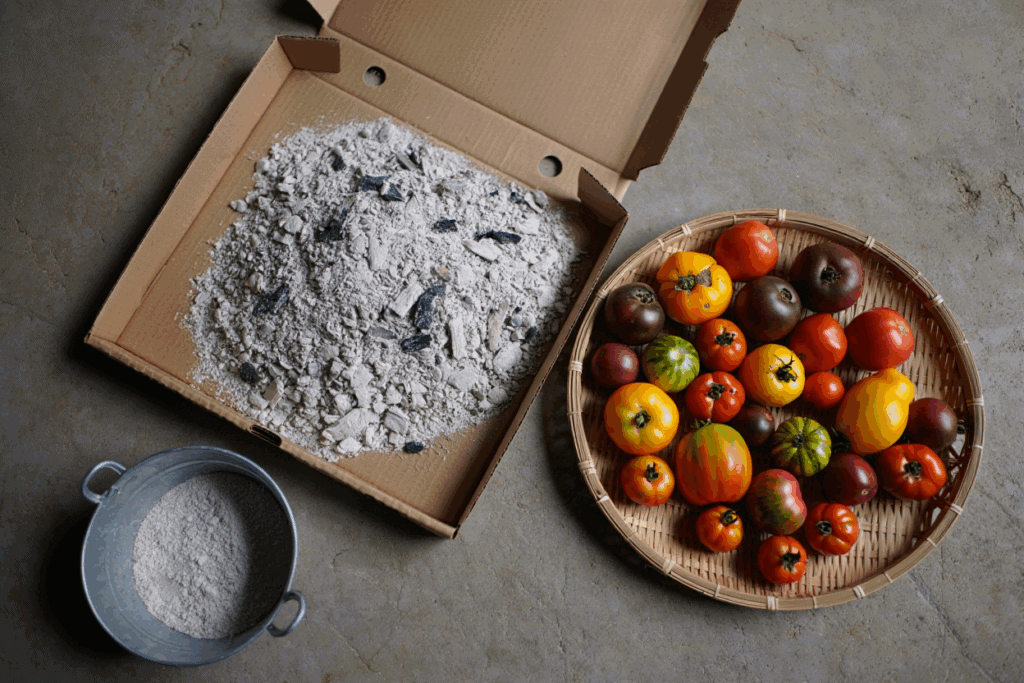
Choose a clean, dry container like a cardboard box, wooden crate, or plastic bin. It doesn’t need to be sealed tight—some airflow is good to keep moisture from building up. If you’re using plastic, keep the lid cracked or loosely covered with cloth.
Step 2: Add a base layer of ash
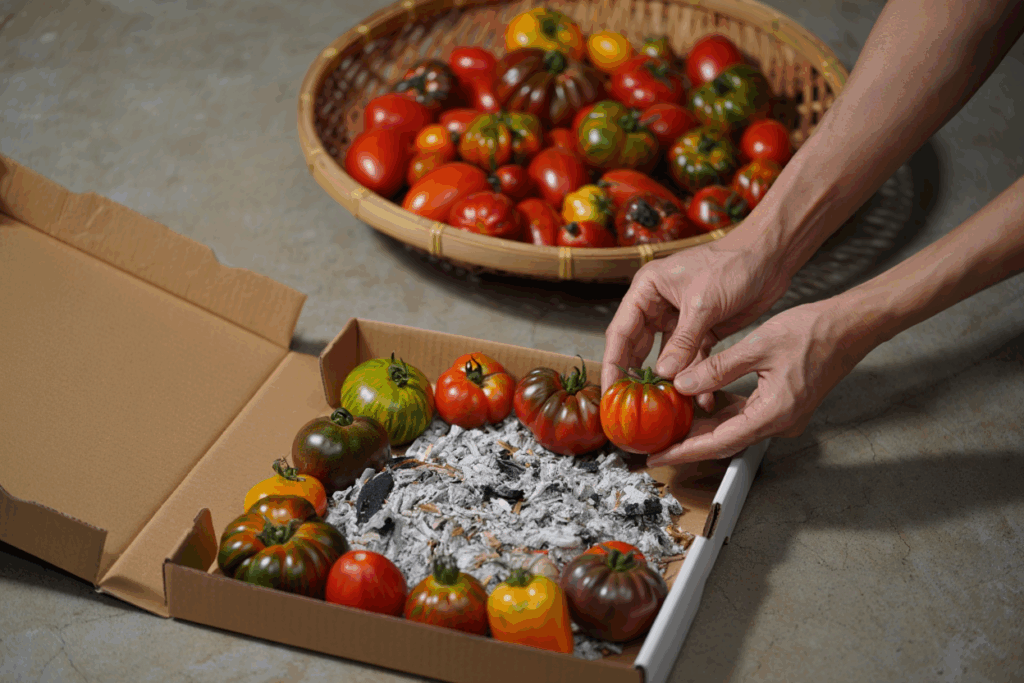
Sift your wood ash first to remove any big chunks or bits of charcoal. Then spread about 1 to 2 inches of dry ash evenly across the bottom of the container. This creates a dry cushion to keep moisture away from your tomatoes.
Step 3: Place the tomatoes, stem side up
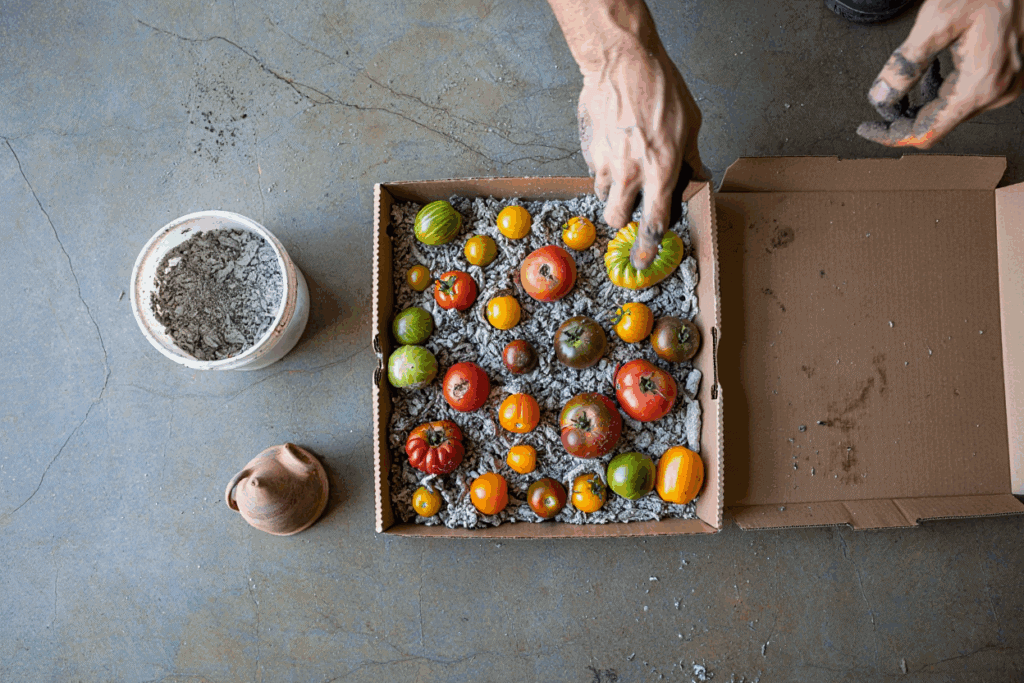
Set your ripe but firm tomatoes gently on the ash with the stem end facing up. Keep them spaced out—none of the fruits should be touching. This helps prevent bruising and reduces the risk of one bad tomato affecting the others.
Step 4: Cover completely with ash
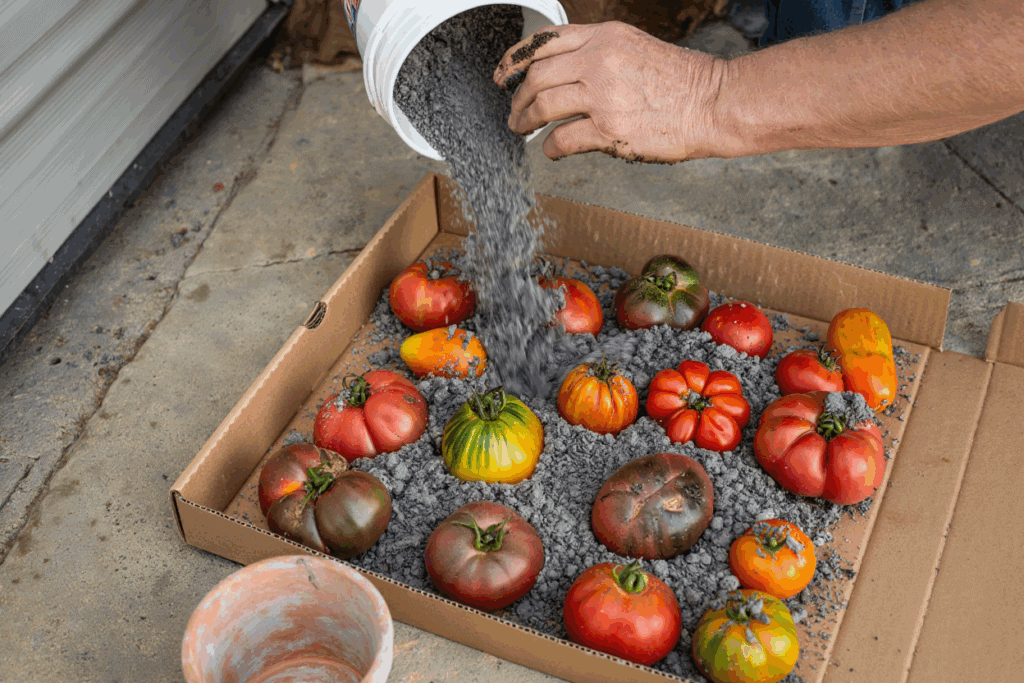
Gently pour more ash over the tomatoes until they’re fully covered. You shouldn’t be able to see any part of the tomato. If you have more tomatoes, repeat the process—ash, tomatoes, ash—until you’ve stored them all. Always finish with a generous layer of ash on top.
Step 5: Store in a cool, dry, dark spot

Put the finished container somewhere quiet and stable—like a pantry, cellar, or an unheated closet. Avoid places with big temperature swings. The ideal range is 50 to 60°F (10–16°C) with low humidity.
Step 6: Check once a month
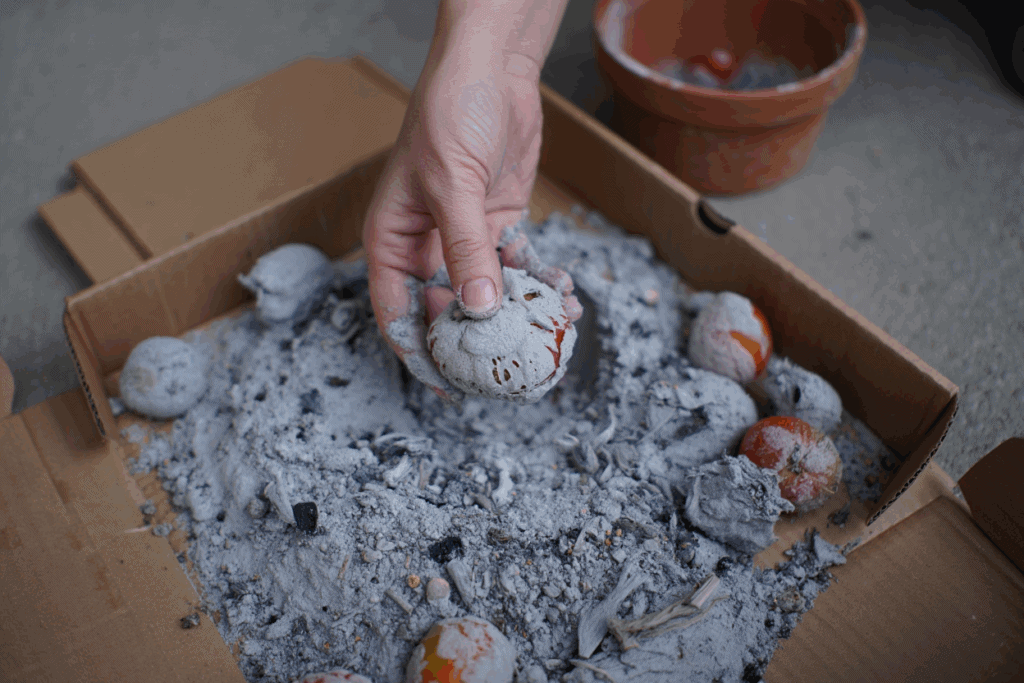
Every few weeks, open the container and feel the ash. If it seems damp or clumpy, swap it out for fresh, dry ash. You can also peek at a few tomatoes to make sure they’re still firm and in good shape.
How Long Will They Last?
Depending on the variety and conditions, tomatoes stored in wood ash can last two to four months without refrigeration. Some gardeners have pulled out tomatoes in January that still looked (and tasted) like they were just picked.
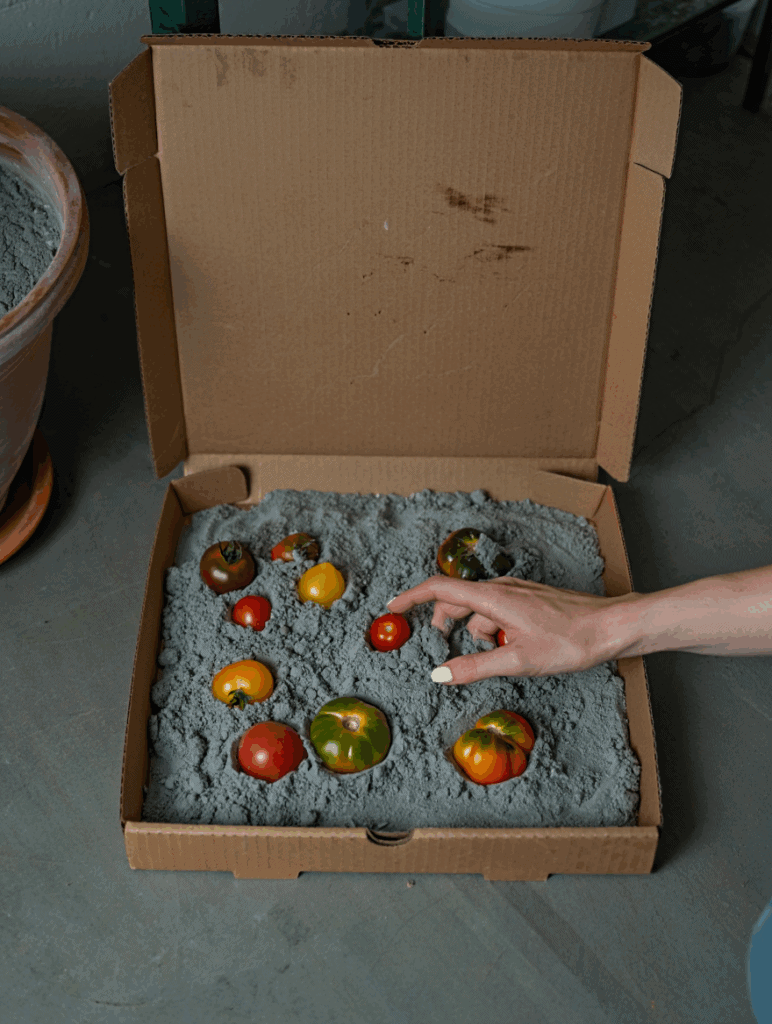
Of course, not every tomato will last that long. Thinner-skinned varieties or tomatoes with hidden soft spots might spoil earlier. That’s why it’s important to check your stash every few weeks.
Here’s the best part: when you take them out, they still taste like tomatoes. Not refrigerator tomatoes. Real, vine-ripened tomatoes that still have some summer left in them. Slice them, salt them, tuck them into sandwiches, or simmer them into sauce. You’ll be glad you saved them.
A Few Extra Tips
- Choose the right tomatoes: Pick firm, freshly harvested fruit with no damage or overripe spots. This method doesn’t “fix” tomatoes—it preserves good ones.
- Check your ash: It should be completely dry and powdery. If it feels damp or clumpy, spread it out to dry before using it.
- Inspect the box occasionally: If the ash starts to feel moist, swap it out for fresh, dry ash to keep the tomatoes protected.
- Avoid composting used ash with seeds: If any seed forms inside the ash (from failed tomatoes), most backyard compost piles won’t get hot enough to kill them.

