


Well, last spring must be remembered by all those people who had large buds withering right away on them and collapsing on the ground… Those who started their perennial plants developing beautifully in April, and then by the beginning of June found only soft mushy and nasty smelling roots where their plant once stood, right? Or how could we not forget last year’s plants showing beautiful foliage damaged by chewing insects and covered with a gray film even when spraying did not seem to help!
But, you know, there was nothing wrong with the way you cared about them – watering them at their root collar zone, fertilizing them properly, picking off affected parts… Nothing worked?
Indeed, it is hard to imagine how frustrating it sounds! Well, they never went anywhere. These eggs, spores, fungi, dormant organisms were living happily near your plant on the last autumn’s flattened and brown foliage. And they had been waiting for nothing else than the arrival of warm rains… So this is why this article will be extremely useful!
First thing to understand is that usually you would better leave most perennials uncut until the spring season for birds and native bees that feed on these late flowers. But there are always exceptions to every rule, and some specific plants carry pests and disease pathogens for future use. So here is your chance to get rid of everything, using a good pair of pruners and getting ready to deal with frost!
Before You Pick Up the Pruners
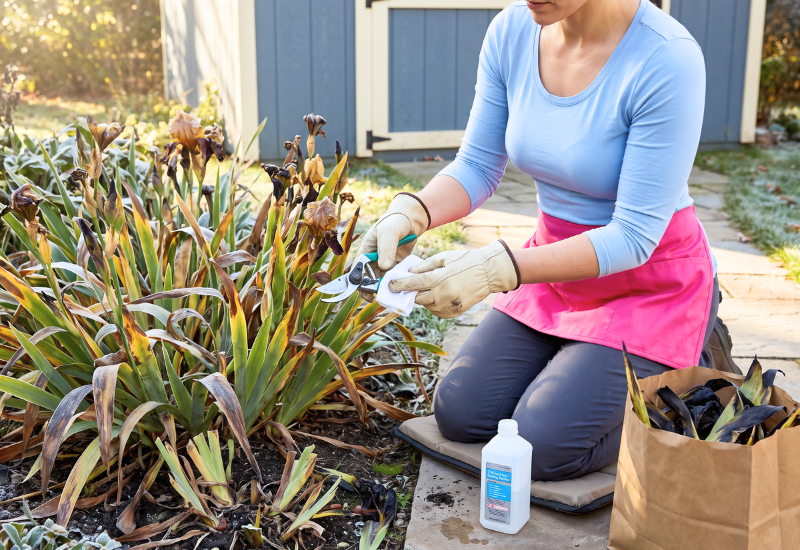
Cutting is important but timing is crucial here! You know how difficult it is to decide whether it is safe for the plants! Cutting iris rhizomes too soon is likely to cause damage to them. Iris borer moth? She loves laying her eggs on the remnants of old foliage, and will continue doing so, till freezing weather stops her from flying around. The only safe indicator, really, is the first frost of winter season; temperatures are going to fall somewhere near 28° Fahrenheit, turning your foliage into black and floppy mess… in autumn zones 3 to 6 you can expect the frost in late October. In zones 7 and 8 the frost date will be pushed out to November. If you live in a frostless area of zones 9 or south, simply wait till the leaves turn yellow on their own accord and wither!
Disposing of removed material correctly is nearly as essential, by the way! A typical home compost heap will not become hot enough nor stay hot for sufficient periods of time to kill rust spores, sclerotia or eggs of insects, thus all items in our today’s list must go directly to municipal pickup yards waste bags – paper ones, preferably, as those used in towns and cities offer much hotter composting process. Or burn what you have, but only if this practice is legal where you live – check the regulations first, please!
And finally, carry a cloth and a small amount of 70% rubbing alcohol solution everywhere. Cleaning pruner’s blade between each cut does require just a couple of extra seconds, yet guarantees that no spores or viruses will get transferred between iris beds. Bleach solution can never become part of cleaning process for pruning tools made of metal; it is toxic, corrosive, damages their integrity and causes pitting!
Alright! Let the frost come and your work begin!
1. Bearded Iris: Break the Iris Borer Cycle
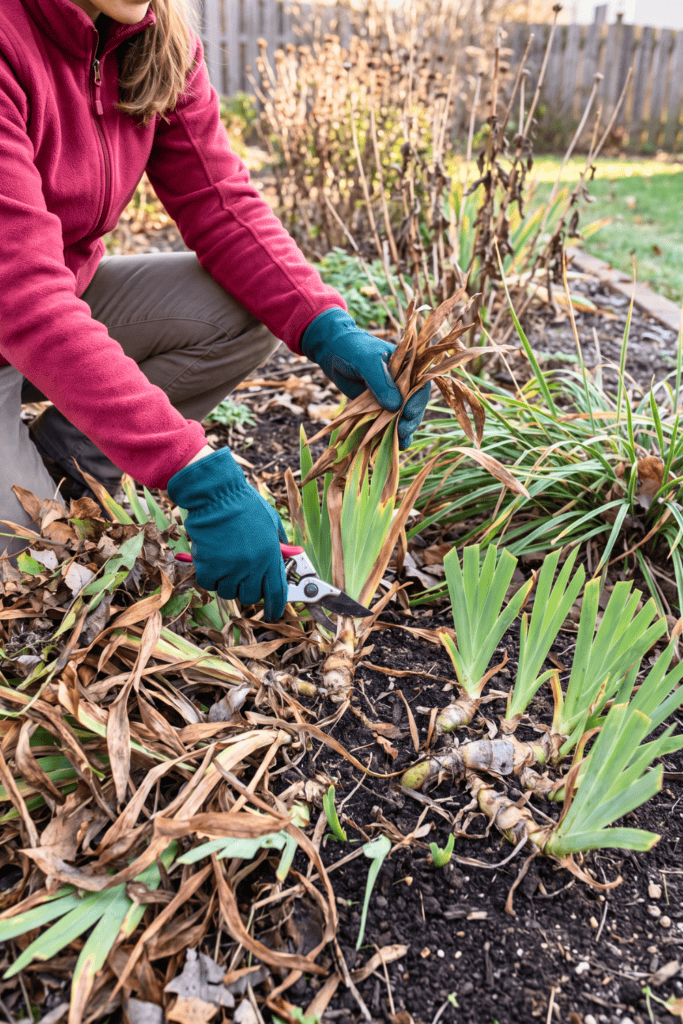
If you had to dig your bearded iris clumps up in summer, only to find that the rhizomes are rotten, spongy and smelly… Well, then you came across irises borers! These moths are natives, that usually do damage east of the Rocky Mountains, in the NE and Midwest states, and they can really ruin your plants!
In late summer or early autumn, when the females are active, they lay their eggs on brown dead iris leaves and leaf litter in and around the fans. And there they stay during winter. Next spring or early summer, once April or May arrives, the larvae come out, boring holes downward through fresh leaves till they get down to the rhizomes in midsummer… Soon enough bacterial soft rot infection comes along!
The key prevention measure is fall clean-up: it will simply remove all possible sources of future problems! Once after hard frost hits, pull out all brown leaves, trim the fans leaving 2-3 inches long stubs only, and rake out leaf litter.
Once spring arrives, inspect fresh leaves for ragged holes and wet-looking areas. Squeeze them firmly with your fingers, right below them, to kill any developing larvae!
2. Peony: Clear Out Botrytis Blight
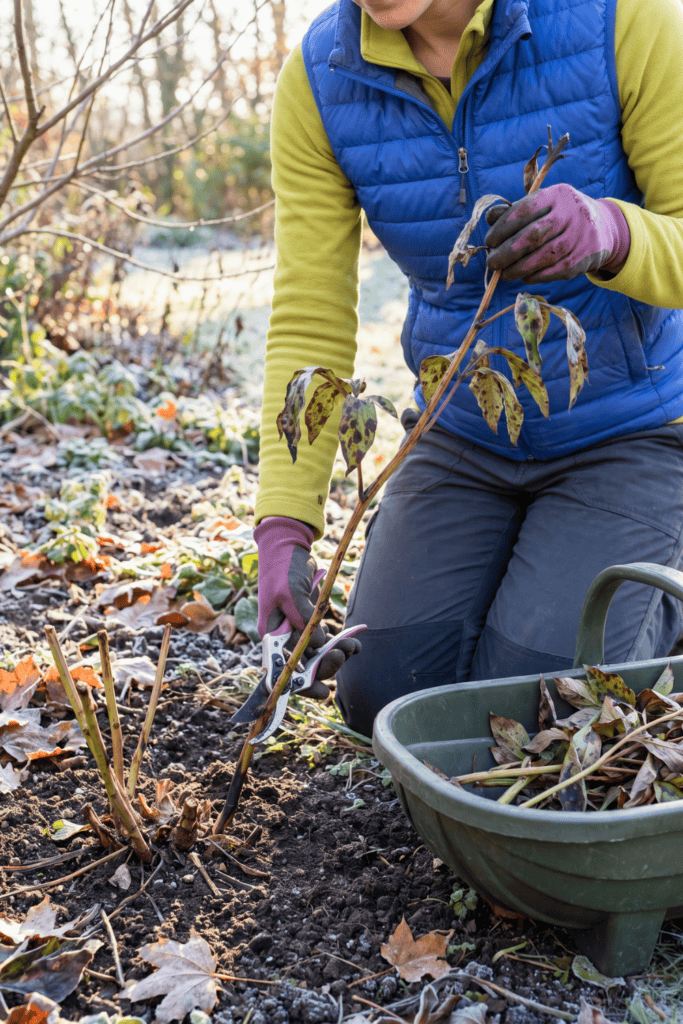
But oh… Nothing is more disappointing than peonies with many large buds turning brown, leathery, hanging from the stems, but failing to bloom properly… Yes… This disease is known as botrytis blight, caused by Botrytis paeoniae gray mold fungus. It occurs particularly in very rainy, wet and cool springs; thus it is widespread throughout Midwest, Northeastern states, and the Pacific Northwest!
Botrytis paeoniae fungi survive winter as microscopic, black and extremely hard structures called sclerotia within the crown area. As soon as rains start falling in spring, millions of spores infect shoots growing out of ground! Black lesions appear on lower parts of young shoots, causing them to droop down and die; meanwhile the infection spreads upwards towards the flower buds…
Therefore, immediately after a heavy frost each year, prune all stems close to soil surface or slightly below without leaving any stubble behind. Also collect fallen leaves carefully, which is good control method for the other peony fungal disease – peony leaf blotch, whose symptoms include spots covered with purple fungal growth. Dispose of debris in yard wastes…
Herbaceous peony pruning mentioned above applies to herbaceous types, whereas tree peonies develop flowers on woody stems, which cannot be pruned without damaging the plants. Rake their leaves only.
Avoid applying mulch over crowns in spring and always water peonies at soil level instead of foliage.
3. Hosta: Remove the Slug Nursery

Gardeners that work in shaded areas have encountered this scene many times before… Perfect hosta leaves in May, eaten up into laces in June, with many holes chewed into each one, and silver trails of these pesky creatures left on the pathways! Well, slugs are common pests throughout all moist soil areas but they seem to particularly favor the east, mid-western states and north-western coast gardens.
Indeed, the future army of these pests is developing already! In autumn slugs lay pearl-like eggs no bigger than the typical BB bullet, in warm and moist soil spaces – few areas could satisfy this criterion better than fallen and wet leaves in the crowns of hostas! In addition, many of the eggs survive until spring, and hatch precisely when new shoots start growing…
Frost damaged leaves need removal, cutting down to crowns and disposal into closed bags. When doing this job, it would not hurt to inspect soil surface area as well as underlayering of any existing mulch; crush egg clusters wherever found, and expose them to predators – either birds or frosts.
Disinfest tools after using for every plant individually since there is such a serious threat as Hosta Virus X infection, transmitted through pruning equipment covered with infected hostas’ juices!
In springtime, an iron phosphate bait spread near emerging shoots ensures safer start for future foliage; moreover, the substance is considered organic.
4. Bee Balm and Garden Phlox: Cut Down the Mildew Source
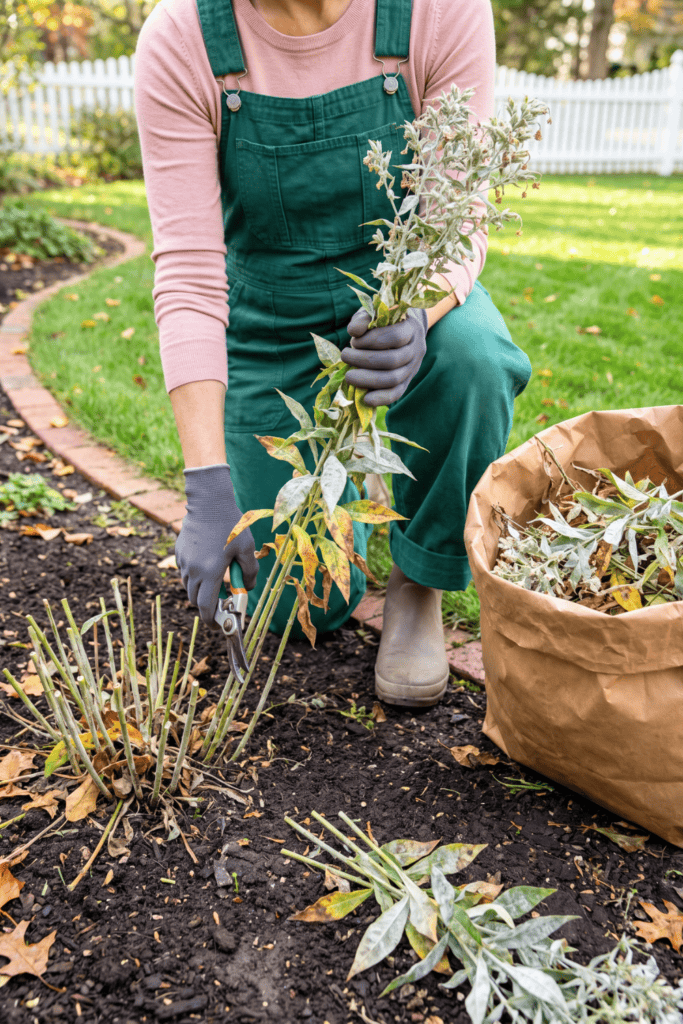
But now, by the end of August, the bee balm and tall garden phlox border will likely get covered in an unpleasant dusty grey coating… While at the bottom, the leaves will begin to yellow, then drop. These two native species from the eastern part of North America are highly valued for their attractive looks, ability to attract pollinating insects… And also equally vulnerable to powdery mildew! And this fungal disease is particularly problematic in areas with hot and humid summers…
Powdery mildew spores are able to survive through the winter in small winter structures (chasmothecia). In spring, as temperatures start getting warmer, these structures burst, releasing fresh fungi spores onto fresh spring shoots. As if this is not enough, there will always be spores traveling with winds from other gardens nearby! Cleaning up cannot help completely solve this issue, but still, it can make it possible to get rid of sources directly growing next to your plants!
So, after frost, you should cut both species to just one-two inches and bag everything. Mildew loves crowding, thus, dividing your bee balm clusters once in two-three years is necessary! For the tall garden phlox clusters, only select 4-5 strongest stems.
When replacing plants, go with varieties created by selective breeding and resistant to fungal diseases! Such species include Jacob Cline’ bee balm and ‘David’ and ‘Jeana’ phlox cultivars!
5. Hollyhock: Strip Out the Rust
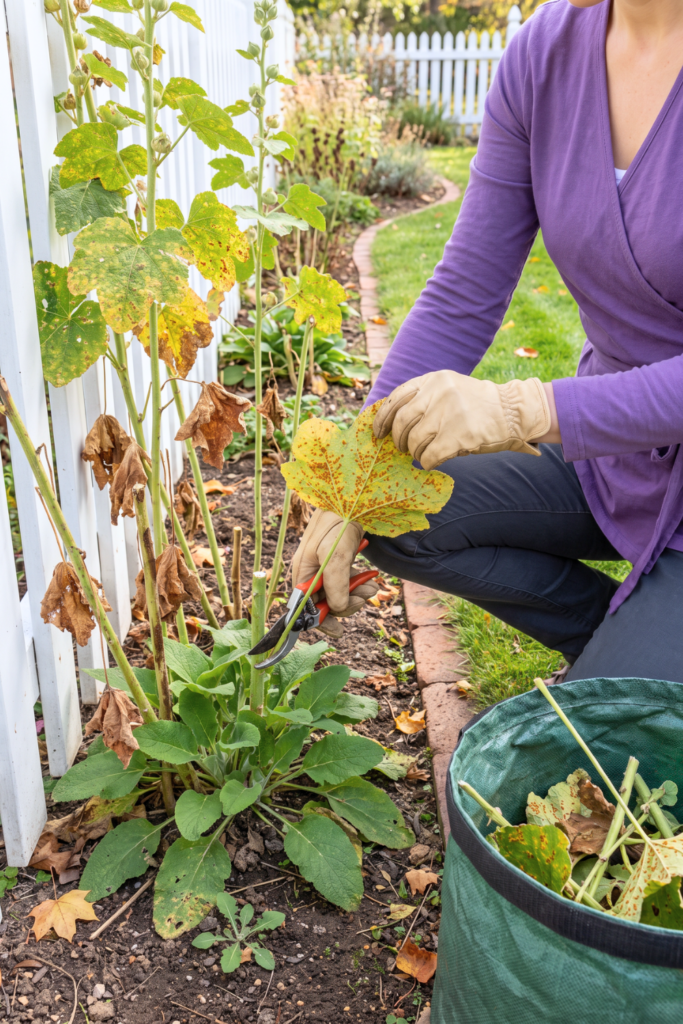
Nothing says cottage gardens like rows of tall hollyhocks growing against fences? Well, not exactly, as most spires will soon tower above dead and dry leaves that turned into a skirt around the lower parts of plants… But this is not the case anymore, since it is hollyhock rust caused by Puccinia malvacearum fungus, which affects hollyhocks across the United States, although it is most active in humid climates.
Unlike other rust fungi, Puccinia malvacearum does not have alternate hosts needed for completing its biological cycle; instead, it spends winter hidden inside infected hollyhocks and other Malva species. Thus, after frost, remove all dead stems and cut back the old growth of basal rosettes, which will persist throughout winter. Pay attention to small weeds called common mallow, also carrying this type of rust disease, pulling them up thoroughly!
To prevent infection from developing, carefully examine each individual leaf of rosettes left from autumn: take away the ones affected, keeping the healthy ones and bagging everything that looks suspicious. When spring arrives, begin picking off all spotted foliage, applying watering exclusively at the base of plants and mulching around their bases. In addition, select stronger varieties such as yellow-flowered Alcea rugosa!
6. Daylily: Remove Leaf Streak and Rust
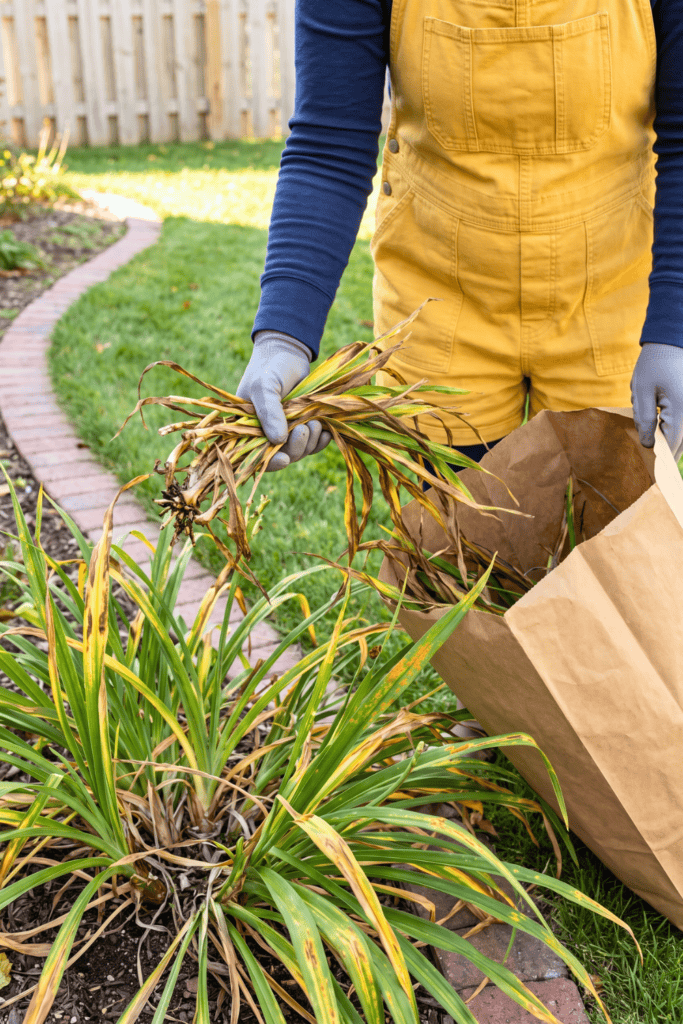
Daylilies are considered indestructible, and precisely for this reason most people do not consider cleaning them necessary at all. By late summer, it becomes clear… Stripes of yellow appear along the middle of the leaf blade. Brown spots start appearing from the tips, and in some places there is also orange powder covering the leaves, even getting into your hands!
Leaf streak is one cause, a fungal disease created by Aureobasidium microstictum, and it appears whenever there is plenty of moisture. It overwinters on dead foliage. Another culprit is daylily rust (Puccinia hemerocallidis). It appeared recently in Georgia back in 2000, spreading widely. In colder climates, it dies with the foliage but survives in mild winter climates (zone 7b or warmer) thanks to evergreen leaves.
Regardless of where you are located, you can easily deal with both these diseases. As soon as frosts hit and foliage turns mushy, simply remove it from the ground in one easy pull by hand. If you live further south, where there are evergreen daylilies, then it means cutting off all spotted leaves and severely pruning highly infected plants.
Check carefully any newly purchased nursery stock wherever you live as well because this is the most frequent vector for spreading rust to gardens.
All in one simple action and your beautiful flowers will become much healthier next season!
7. Lilies: Clear Out Botrytis and Beetle Shelter
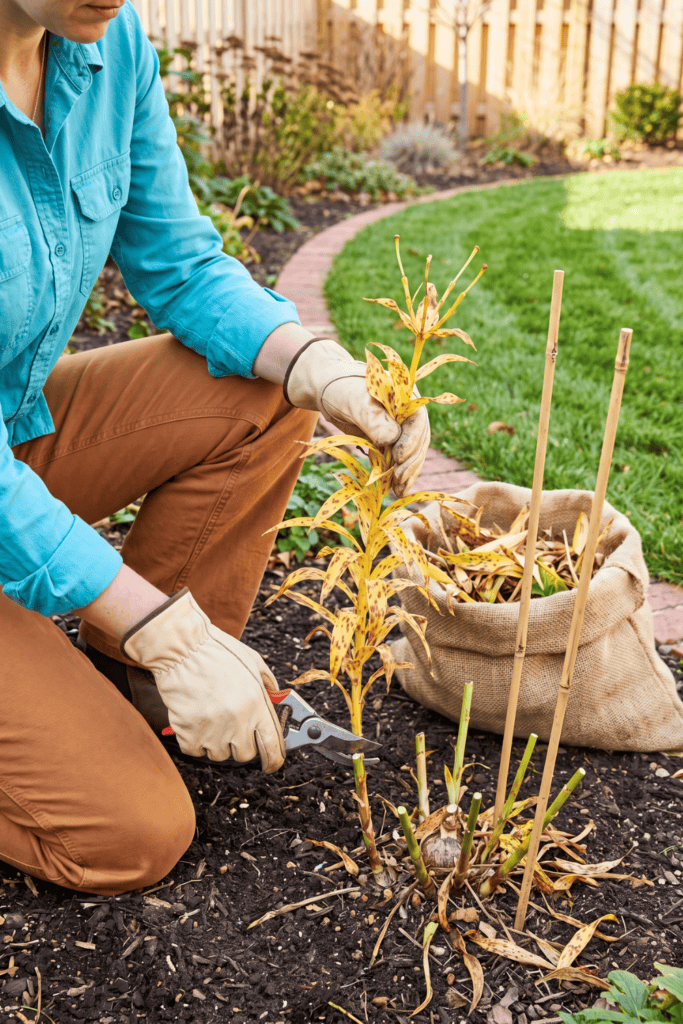
By late July, true lilies will develop serious oval tan spots on their foliage that move from bottom leaves up towards their flowers, and eventually will make the entire stem brown; that’s called Botrytis, or lily blight caused by fungus known as Botrytis elliptica… and it strikes hardest in cool and moist climates such as Northeastern States and the Pacific Northwest.
And speaking of dangers coming with warm weather, let me tell you what else threatens true lily species… the lily leaf beetle… a vivid scarlet insect detected for the first time in Massachusetts back in 1992 and spreading since all over New England and State of New York, reaching farther West… adults spend winters in soil debris or dead plants, which makes it harder to spot them in spring, which is why gardeners are advised to do everything necessary in order to protect their precious bulbs. Adult insects feed exclusively on members of Lilium genus, namely true lilies and fritillaries, and do not affect daylilies.
Leave the foliage until it gets completely yellow, when it will stop feeding the bulbs; cut the stems at ground level and remove every single leave; mark the locations of bulbs with stakes to prevent accidental damage next spring; monitor newly appeared shoots carefully… inspect each shoot closely holding upside-down cupped hands under it, since beetles tend to jump immediately when you try catching them.
8. Delphinium: Cut Away Mildew and Black Leaf Spot
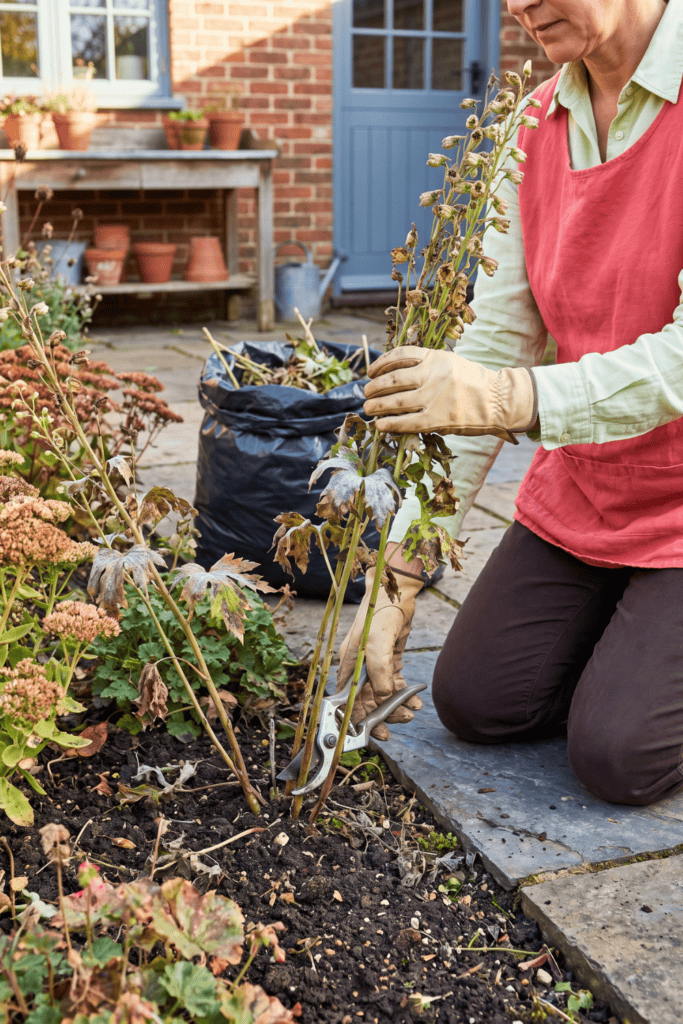
Of course, if you already cultivate delphiniums, then you know how difficult their cultivation can become, especially when stakes need to be set up, protecting those young and tender sprouts from slugs. Nothing is worse than losing them due to some illness! These beauties prefer cooler summers, making northern regions, New England, Rocky Mountains and Pacific Northwest areas suitable places to grow. Otherwise, in warm and moist Southern gardens they usually cultivate them as annuals.
Powdery mildew is what covers the leaves in shades of gray in late summer. Bacterial black leaf spot (Pseudomonas syringae pv. delphinii) produces shiny black lesions on both leaves and stems. Both survive on infected plant residue over winter, and bacteria spreads with rain splash and hose usage.
Once the frost has destroyed the foliage completely, remove each stem close to the ground level and clean all fallen plant material from around the base. Put all into trash bags, as these pathogens survive compost heaps.
The crown does not enjoy moisture in winter, which means avoid heavy mulching right near the base, and ensure good drainage, otherwise crown rot might attack! Air circulation among the specimens planted next season, plus proper watering directly to soil rather than foliage is crucial.
The Perennials to Leave Standing This Fall for the Birds and Bees
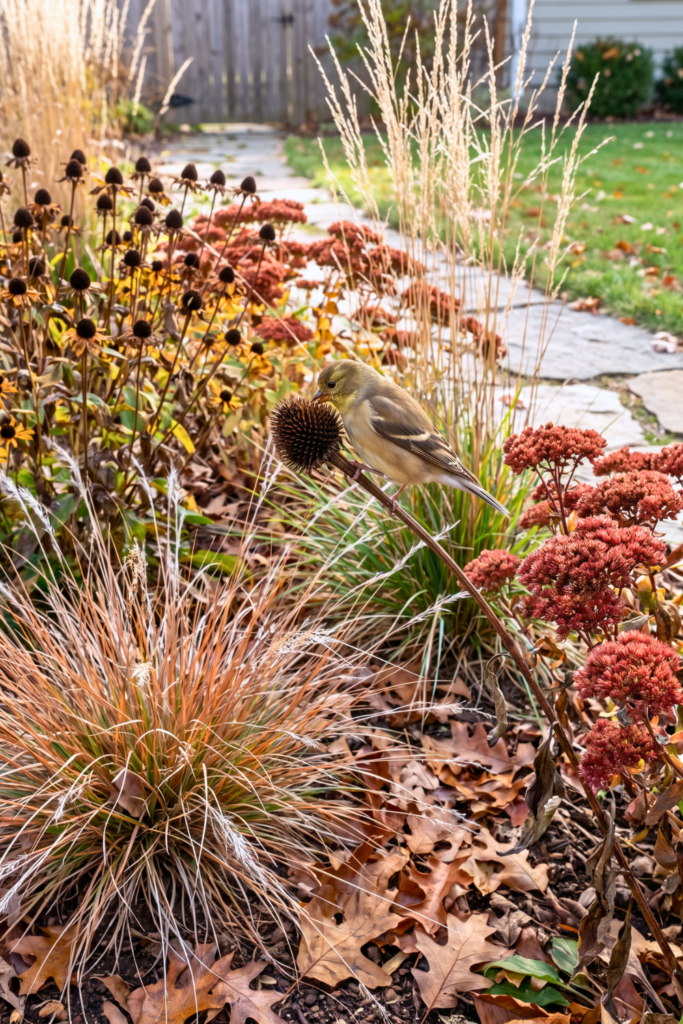
This pruning might result in the complete fall cleanup of the whole garden, but actually, much better for it not to do so! Leaving things be means helping goldfinches, juncos and chickadees survive winter on seeds from your coneflowers, black-eyed Susans, sedums and native grass species like little bluestem and switchgrass! Their stems will also retain snow and provide insulation for their crowns below…
But this is not all, because many insects live within those same stems! Carpenter bees, among many other native bee species actually spend the winter months inside them, while fireflies and beetle larvae stay under the leaf mulch! So when you clear everything away in October, you deprive yourself of these insects that help you garden be alive next summer!
The principle is quite clear: remove diseased plants only and nothing else. When the leaves of black-eyed Susans become affected with leaf spot disease, then only prune affected leaves, leaving the rest with seedheads untouched until springtime. During the new growing season, prune the entire old stem 12 to 18 inches above ground level. Bees living inside will thank you dearly for such treatment and protection…
